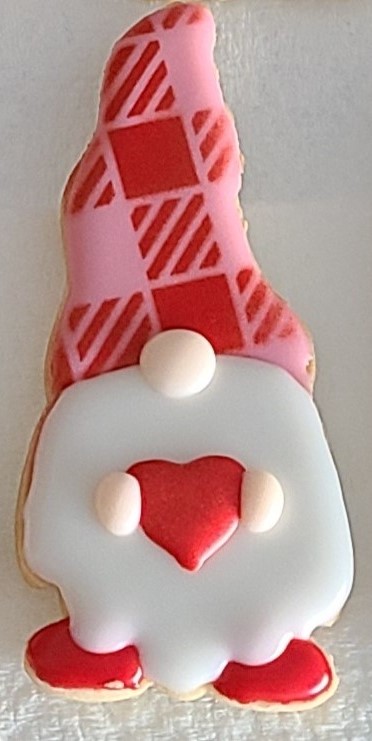
Happy Valentine’s Day! Cookie decorating has become a bit of an obsession for me! These Valentine Gnome Cookies were so fun to make, but they have multiple steps with dry time in between so be patient if you’re going to give them a try.
This post may contain affiliate links. See our disclosure here.
I created a video at the end to show you a quick view of the process but I’ll outline each step and the products I used below. If you’re an experienced cookier, I’m sure you have everything you need. If you’re new, don’t be like me. Amass your stash in baby steps! 
So let’s get started!
Find your favorite gnome cookie cutter
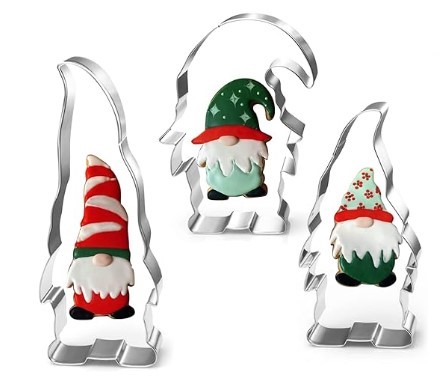
If you’re a cookier, you probably already have some gnome cutters. If you don’t have any, here is a link to a set of 3 that I have. I love them! Gnome cookie cutters
Bake the cookies!
Is it too obvious to say that you have to bake the cookies before you can decorate them? 
Make the icing
I’m going to say something controversial…I don’t use royal icing. I need my cookies to taste great and royal icing wasn’t the way to go for me. I think it’s the meringue powder that I don’t like, so I came up with a recipe that works like a royal icing but tastes really good. Now having said that, I’ve tasted some wonderful sugar cookies made with royal icing so if I put the time into tinkering with different recipes maybe I could be a convert. But right now I don’t find it necessary because I came up with a simple Not So Royal icing that hardens beautifully and tastes great.
Make the heart icing transfers
Now it’s time to make the hearts that the gnome is holding.
I got the icing transfers pictured below in a course I took a couple of years ago, but you can make your own using Microsoft Word. If you don’t want to make your own, I made you a free template just to make it easy for you. Just click on the link below and a Word document will download that you can print.
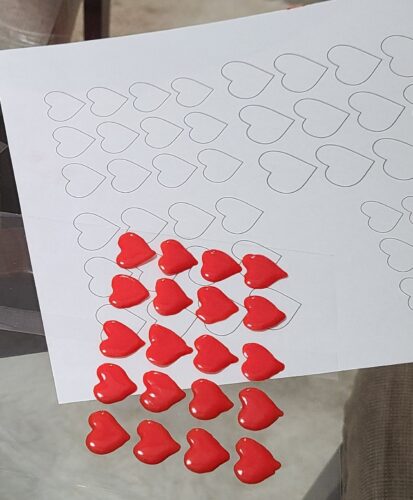
I use Americolor Super Red for the hearts. To make the hearts, just put a piece of food safe acetate over the printed template and flood. I actually use cello bags like these below. Make the hearts ahead of time to ensure they’re dry by the time you’re ready to add them to the cookie.

Flood the hat
The next step is to flood the hat. I use Americolor Deep Pink for the hat. Let the hat dry before you move on to the next step.
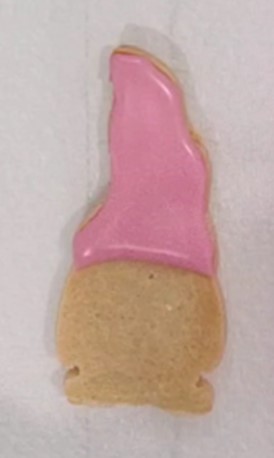
When the hat dries, the fun begins!
Airbrush the hat
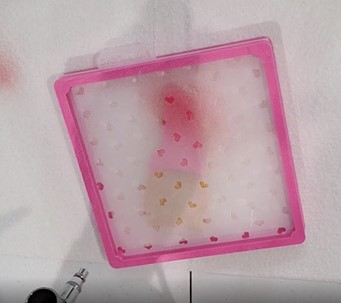
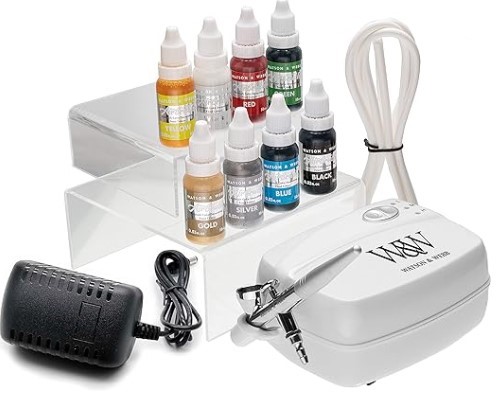
When I started cookie decorating, like every other hobby I have, I had to buy everything! I wanted an airbrush right away, and I’m not sorry I made the investment. It’s fun to use and can really take decorating to the next level. I bought this one and I’ve had great luck with it.
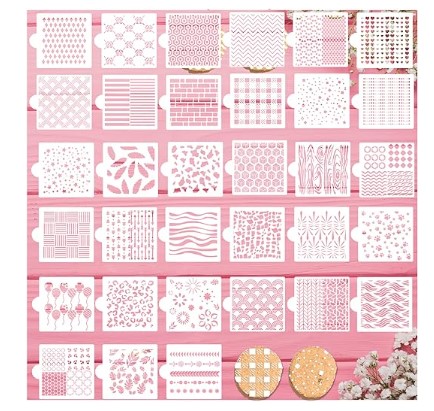
Once I got the airbrush, it was time to buy some stencils. I wanted to get a variety so I looked for a multi-pack of stencils to get me started.
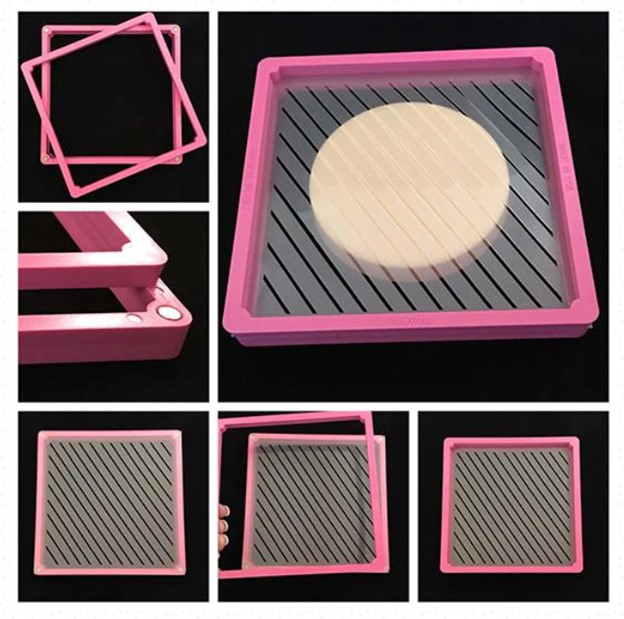
I also bought this cool little gadget called the Stencil Genie. It holds your stencil steady on top of the cookie, to get a crisp line. Before I had the genie, I used magnets and the back of a cookie sheet. That worked too! 
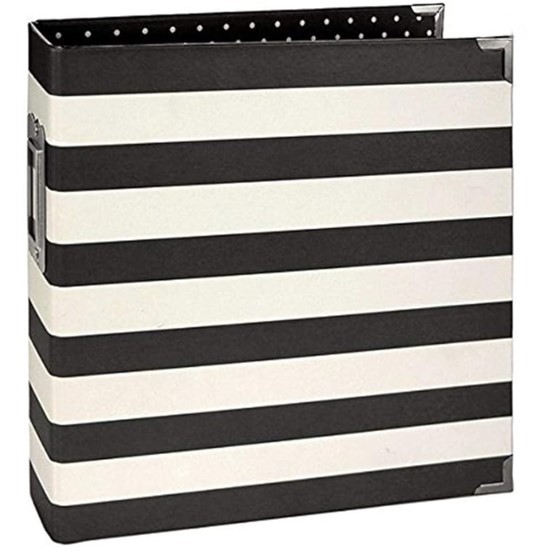
Since purchasing my original multi-pack of stencils, I’ve built up a collection and needed a way to store them. Simple Stories is one of my favorite brands of card making supplies and I love their binders. This 6×8 binder works perfectly to hold my stencils.
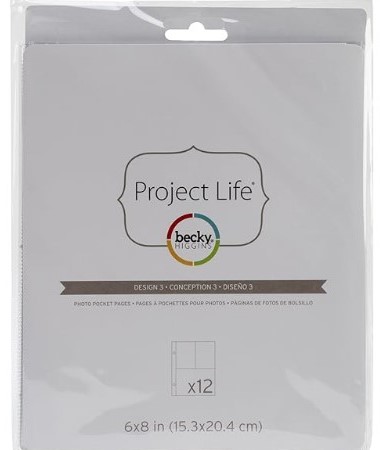
I couldn’t find page protectors that worked for the stencils at Simple Stories so I used the Becky Higgins page protectors.
Now having said all this about airbrushing and stencils, if you don’t have an airbrush and have no interest in investing in one, you can still make these cookies! Just hand decorate patterns, like hearts, polka dots, stripes, etc…
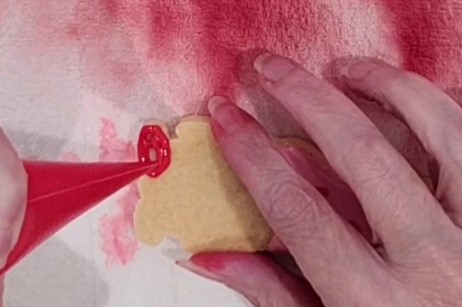
Flood the shoes
Once the hats are all decorated, it’s time to flood his shoes. I use Americolor Super Red, like I did for the hearts. Make sure the shoes are completely dry before going to the next step. Note: If you use gloves while you airbrush your hands won’t look like mine.
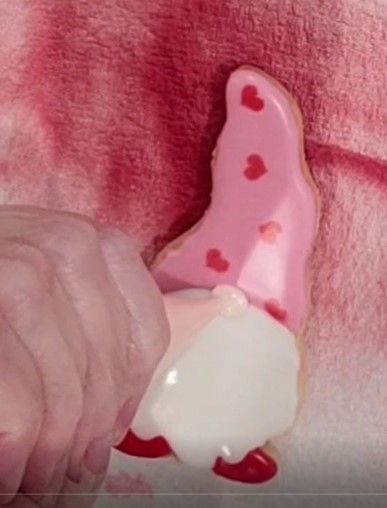
Give him a beard
Because I add white food coloring to the icing when I make it, I just use the icing with no additional color to make the beard. When I flood larger areas, you’ll see in the video I add a little “x” in the middle to try to avoid craters. Push the icing over the shoes a bit to shape the beard.
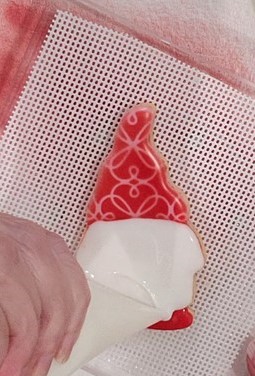
Add his little nose
Americolor Ivory is the color I use for his nose and hands. Just put a little circular dot in the center where his hat and beard meet.
Apply the heart
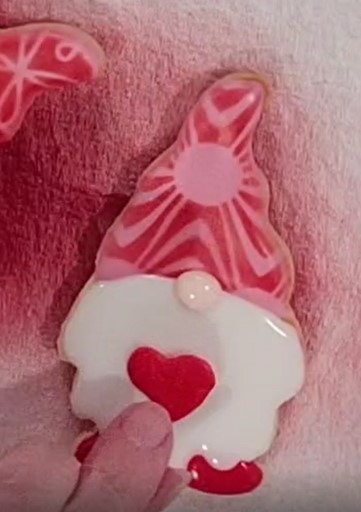
The hearts should be dry by now. I use a little drop of icing as the “glue” to add the heart to the center of the beard.

Add his hands
The last step is to add his hands. No need to let the “glue” dry under the heart. As soon as the heart is on, you can add his hands. Use the same Americolor Ivory and make an oval shape on each side of the heart as his hands.
The video…
And that’s it! By now you should have Valentine Gnome Cookies you’re super proud of! If you have any questions, leave a comment below.
Enjoy and happy tinkering,
Susan


