

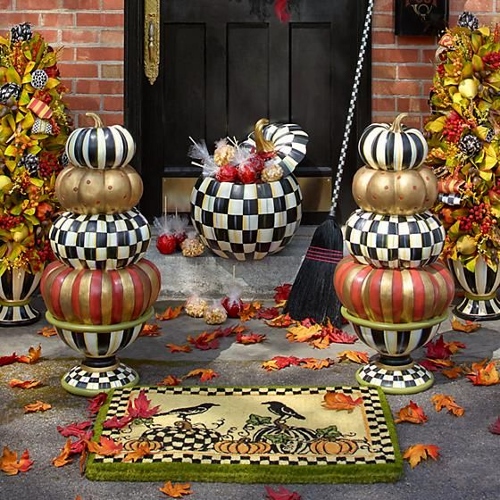
I am a big fan of MacKenzie-Childs. Their products are colorful and whimsical and they have been the inspiration for several projects I’ve made. I subscribe to their catalog and love seeing all their seasonal items. When I saw their funky pumpkin topiary last year I immediately knew that would be on my project list. Below is a pic of what they look like. They’re so fun! Follow along as I show you how to make my Halloween version of a funky pumpkin topiary.
This post may contain affiliate links. See our disclosure here.
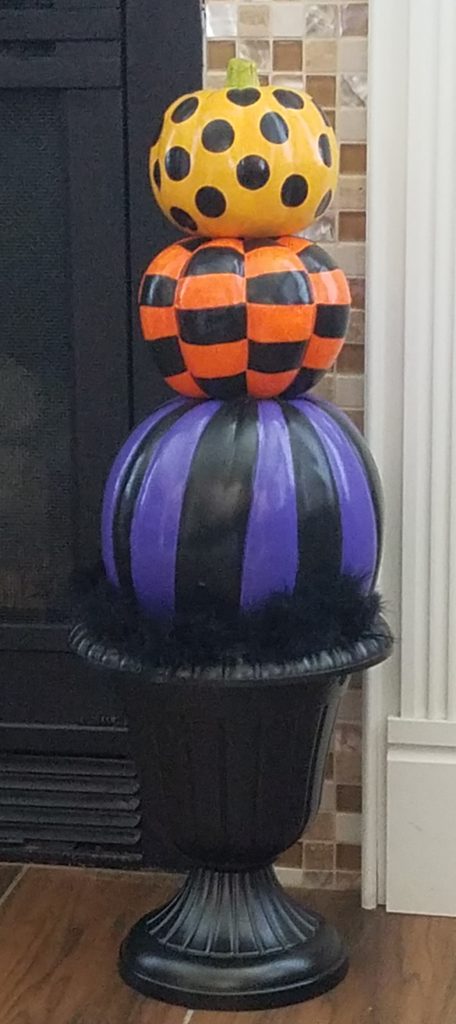
I wanted my topiary to be more Halloween-y than fall so I switched up the colors to be bright orange, green, purple, yellow and black.
Here are the supplies you’ll need:
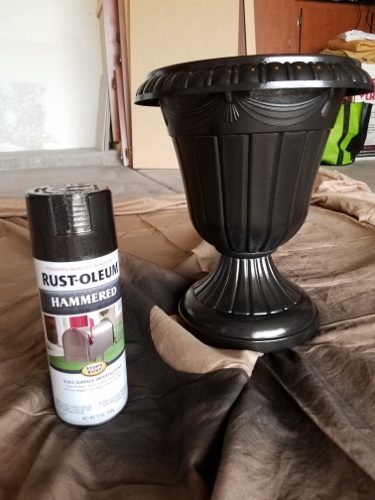
- 10″ Plastic Urn
- 8.5″ Craft Pumpkin
- 9″ Craft Pumpkin
- 13″ Craft Pumpkin
- 5 qt. Mixing Bucket
- Makers Mix Concrete
- Rustoleum Hammered Metal Black Spray Paint
- Black Craft Boa
- Orange, Yellow, Black, Green and Purple Acrylic Paint
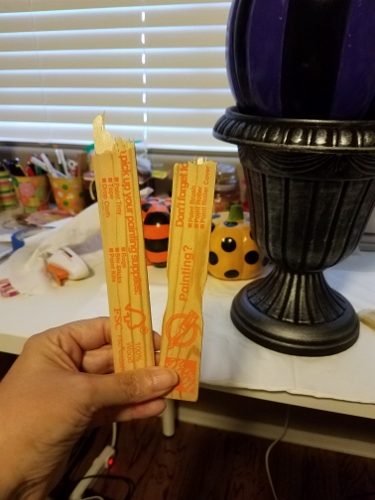
- Paint sticks
- E-6000 Glue
- Paint Brushes
- Round Sponge Brush
- Mod Podge…or your favorite acrylic paint sealer
- Painters Tape
- Measuring Cup (for water used in mixing the cement)
Here’s how you’ll make it:
- Remove the stems from the middle and largest pumpkins. I just used a craft knife but if you have a craft saw that works too.
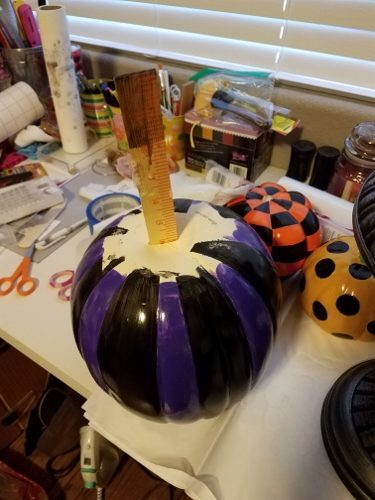
- Paint the largest pumpkin in black and purple stripes. I actually painted the whole thing purple and then used painters tape to get straight lines for the black paint. Even though pumpkins (even fakes ones) have natural ridges, this one was very uneven and I wanted a little more uniform look.
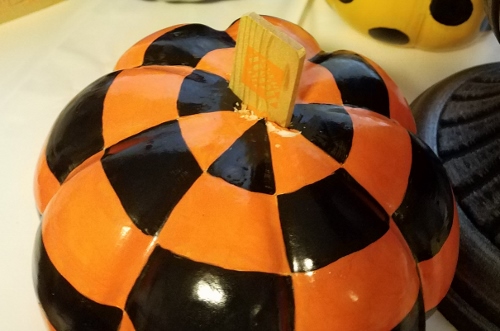
- Paint the middle pumpkin in a checkerboard pattern. The way I did this was to paint the whole pumpkin orange (I had white pumpkins) and then after it was dry I drew the checkerboard pattern on the pumpkin in pencil. I started with a circle at the top. On this pumpkin I used the natural ridges to separate the colors. I just drew the lines where the ridges were. Then I drew a second circle and a third, etc down the pumpkin. I painted black in every other square and it was done!
- On the smallest pumpkin I painted it yellow, painted a green stem and then just used a round sponge brush to create the black polka dots.
- Once the pumpkins were painted, I sealed them with a glossy Mod Podge.
- While the pumpkins were drying I spray painted the urn with Rustoleum Hammered Metal Black Spray Paint
- To prepare the pumpkins, I used free paint sticks I got from Home Depot. I broke one in half and inserted it between the bottom of the smallest pumpkin and the top of the middle pumpkin. Since the pumpkins are just foam, it was pretty easy to shimmy it in there. It’s helpful to open a pair of scissors in half and use that to pre-cut a slit in the pumpkin.
- Then pre-cut a slit in the bottom of the middle pumpkin and top of the largest pumpkin and insert the other half of the paint stick.
- Once all the holes were pre-cut I inserted a whole paint stick into the bottom of the largest pumpkin as a place holder.
- Now it’s time for the fun part…working with cement! I used Makers Mix Concrete.
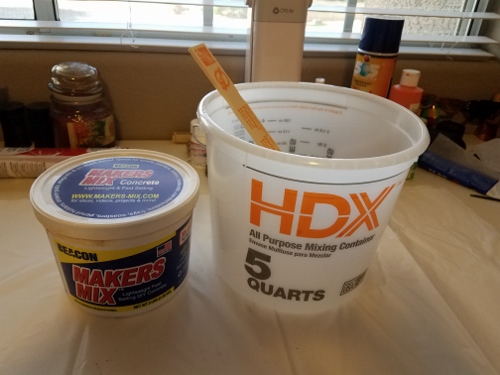
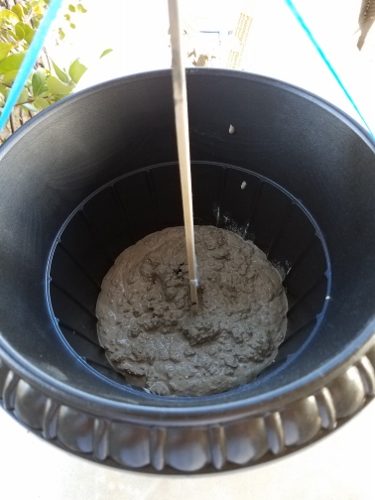
- It was time to take the whole project outside (except the pumpkins) just in case I made a mess..which would be so like me. I needed my Painters Tape, Makers Mix Concrete, a paint stick, 10″ Plastic Urn, a measuring cup and a 5 qt. Mixing Bucket.

- I poured the dry concrete into the 5 qt bucket and added water based on the concrete mix directions. Then I mixed well.
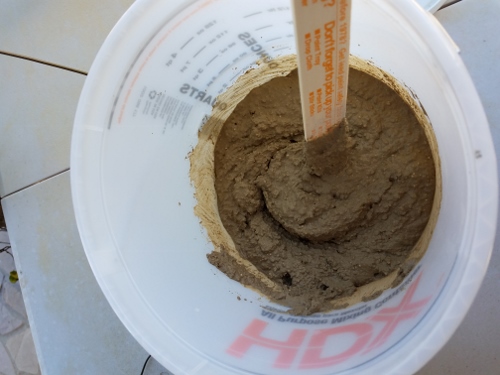
- Once it was mixed I poured it into the bottom of the urn. Then I took the paint stick and centered it at the bottom of the urn. I used the Painters Tape to hold the stick in place until the cement set up.
- Once the cement was set up, it was time to assemble the whole thing. I secured all the paint sticks between the pumpkins with E6000 glue and then inserted the large pumpkin onto the paint stick inside the urn. (I secured that stick with glue as well.) When the glue was dry and the pumpkins were secure, I added a Black Craft Boa around the edge of the urn with the E6000. This served two purposes. It hid the small exposed gap between the large pumpkin and the urn, and it added a little zhuzh!
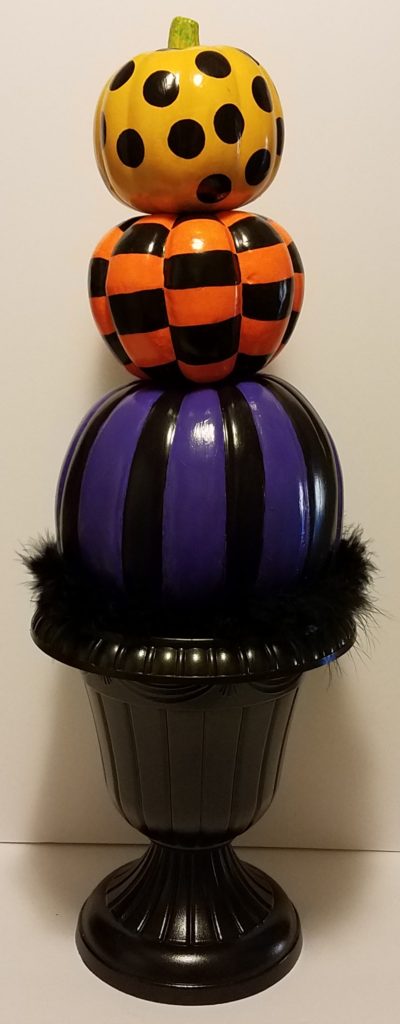
This funky pumpkin topiary was really fun to make and I love how it turned out. If you have any questions just let me know.
Happy tinkering,
Susan
