
I wanted to come up with a custom Mother’s Day gift for my mom this year. She needed something on the wall in her home office so I thought I could make a framed….something. I didn’t really know what I wanted to make. I attended a blogging conference a few weeks ago and Rustoleum had a booth there. They gave me some chalkboard paint samples so I still didn’t know exactly what I was going to make, but I decided to make it with chalkboard paint! Follow along as I show you how I created my Mother’s Day chalkboard sign.
This post may contain affiliate links. See our disclosure here.
The idea…
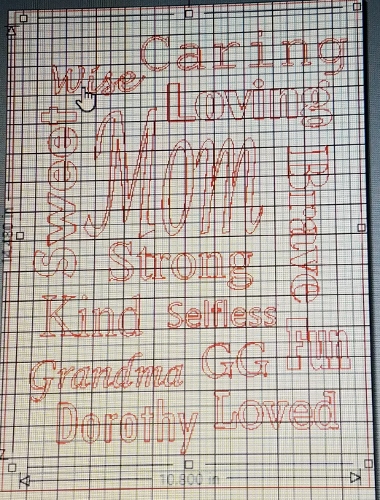
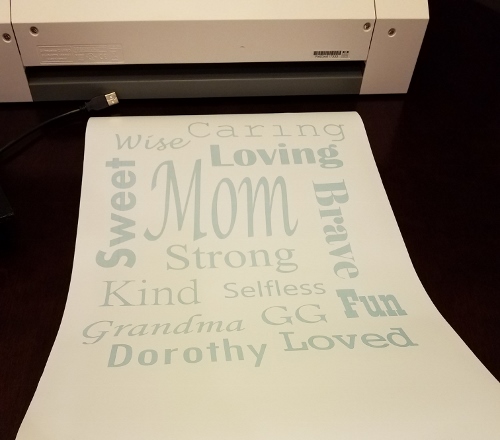
I opened up my Silhouette software and just started playing with the idea of a “mom” sign, using words to describe her as well as the different names she’s called. The rotten child in me wanted to sneak in some less appropriate names, but I refrained…
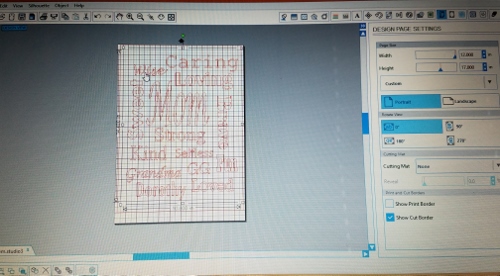
I thought it would be fun to use all kinds of different fonts, keeping in mind the letters would need to be thick enough to use in a stencil.
The surface…
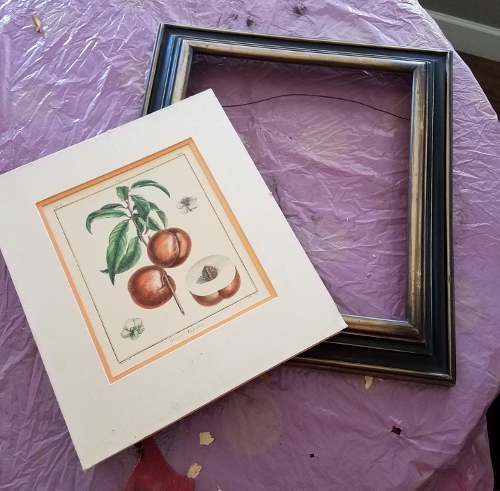
So now that I had my idea, I needed a surface. Every once in awhile I’ll get in the mood to hit some weekend garage sales and when I do I often look for frames. You can usually get them for $2 or less! I went through my stash and found a frame that would work for the space. It had a 14×17 mat so I knew that was the size of surface I was working with. To prepare it, I just cleaned it up and sanded the edges a little. I liked that it was worn. I thought that would add to the look.
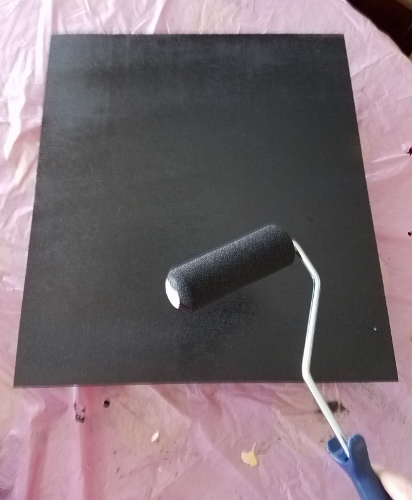
Once I had my project figured out, I took the measurement of the mat to my local Home Depot and bought a sheet of luan. The total cost for the luan was about $7.50. I liked the idea of luan because it’s a really smooth, thin, lightweight wood. I had them cut a piece of the sheet down to 14×17 to be the same size as the mat. Then I brought it home and painted it with the Rustoleum chalkboard paint.
I let the chalkboard paint dry overnight, though I’m not really sure that was necessary. I live in Arizona and paint dries very fast in this dry climate!
The process…
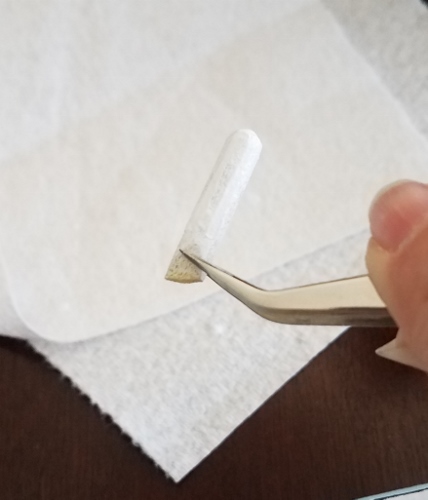
Next I cut my stencil with my Silhouette and then I used the best craft tweezers on the planet! to remove the inside letters. I have had these craft tweezers for years and it is an awesome tool! They have a sharp tip so they work as a tweezers as well as a pick. In no time at all, the letters were removed.
Now, a normal person would take pictures of the next steps on this project…but I’m not normal and I got distracted! So I have photos of a different project I did below. I’m sorry for the confusion! Sigh…
The next thing I did was to add my transfer tape to my stencil to make it easier to adhere it to the luan. You will notice in the picture below that I didn’t remove the letters from the stencil on that project before I put the transfer tape on top of it. That isn’t something I’d do again. It’s much harder to center the stencil on the work surface if you can’t see the project!
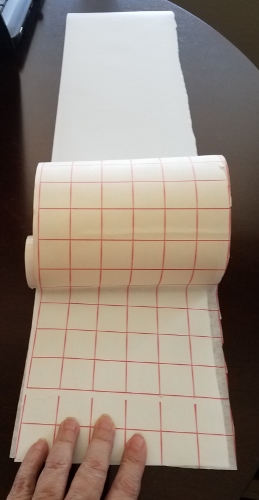
After I put the transfer tape on the stencil I burnished it with a little scraper I got in a tool kit a long time ago. Here’s an inexpensive one…or you could probably use a credit card! After I apply the stencil to the project surface I burnish it again to make sure there are no air pockets.
![]()
The “chalk”
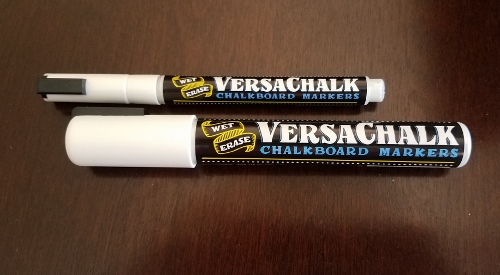
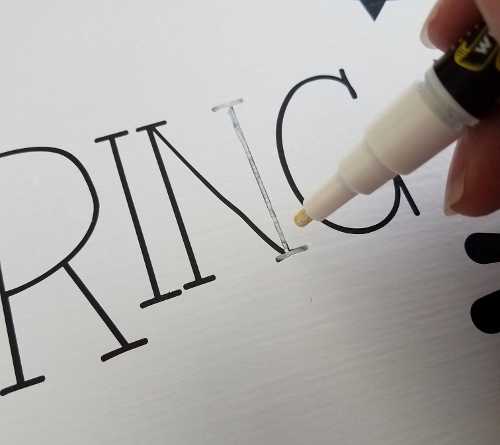
Next it was time to get out my Versachalk pens! The project will determine if I use the fine or bold pen. In the project photos below I used both.
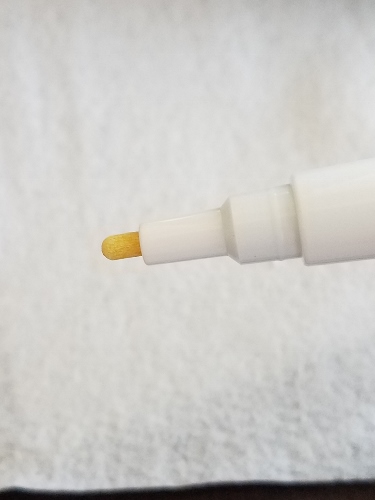
When the pen is new, there will be no chalkboard paint on the tip. You need to prime the tip by shaking the pen and then working the paint to the surface by pressing down on the tip.

The Versachalk pens are reversible too so you can use the chisel or round edge. Just pull the tip out of the pen and flip it over to the other side.
Using the fine tip, I just colored in the area of the stencil.
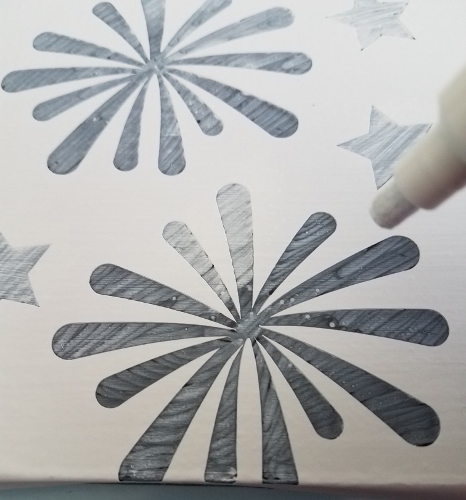
For larger areas I use the bold tip. In an attempt to keep it from bleeding underneath the stencil I use crosswise strokes and paint on two coats.
Priming the surface…
Once the chalk is on the project and it’s dry, just remove the stencil and see what it looks like. What I’ve started doing is waiting to prime the chalkboard surface until the project is done and any edges are cleaned up. I just use a q-tip and water to clean up any edges that have bled and when that’s done I prime the surface.
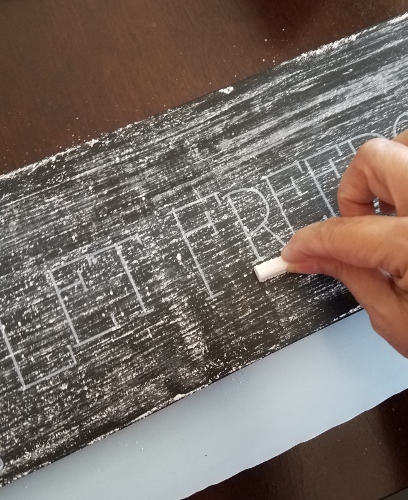
To prime the chalkboard I take the edge of a piece of chalk and scrape it along the entire surface. Then I change directions and scrape it across again (horizontally and vertically).
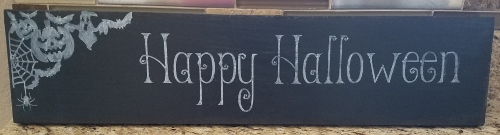
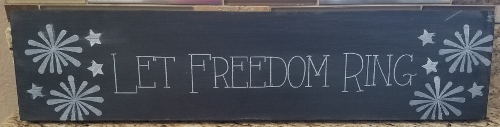
Wipe all the excess chalk off and you’re done! Here is my mother’s day gift as well as a reversible holiday sign I’ve recently finished.
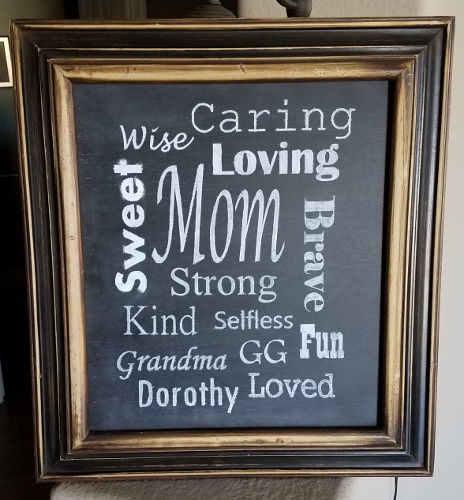
I hope you enjoyed my custom mother’s day gift. I had to give it to my mom early because she reads my blog!! 😛
Happy tinkering,
Susan
