
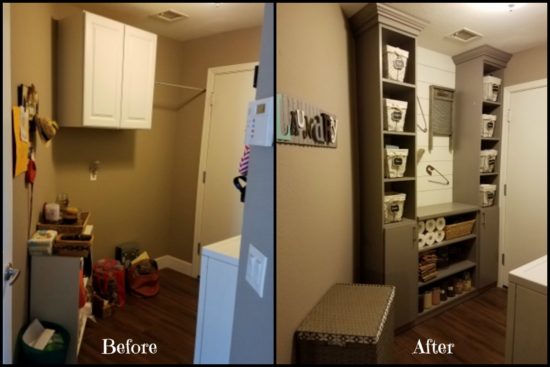
When I moved into my fixer-upper, the laundry room was kinda…well, ugly. It was functional–sort of, in that it had a washer and a dryer in it, but it had potential to be a much better functioning room. So follow along in another room of my fixer upper – the laundry room!
This post may contain affiliate links. See disclosure here…
Here’s what I used to decorate the room…
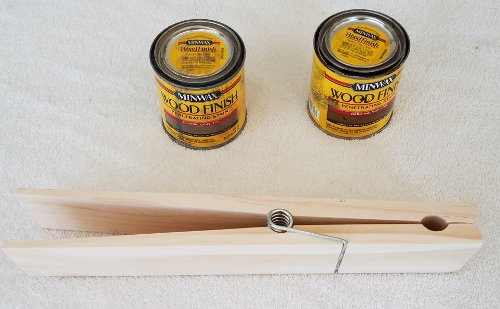
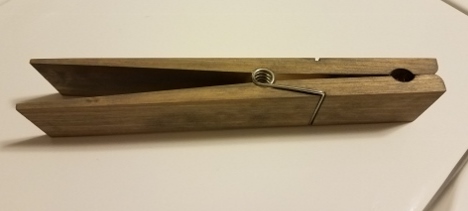
- 12″ Clothespin
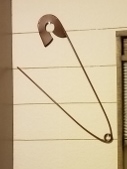
- Giant Safety Pins
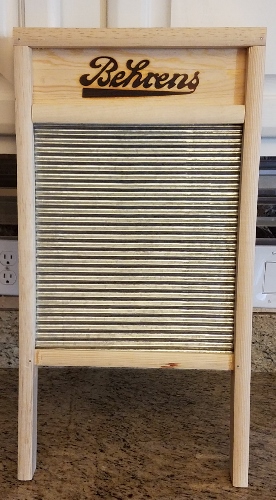
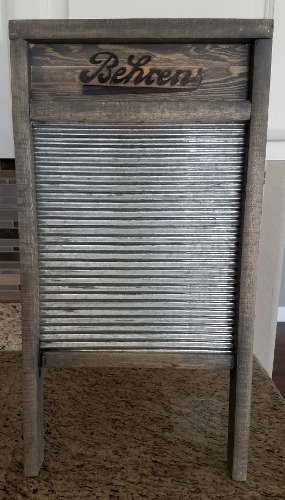
- Washboard
- Wire Baskets
- Chalkboard Tags
- 1/8″ Tape
- Minwax Classic Gray
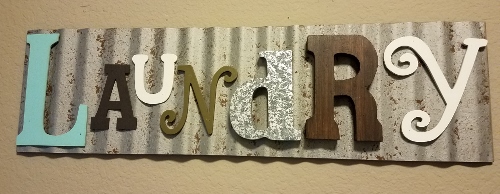
- Laundry Sign
Why can’t rooms be square??
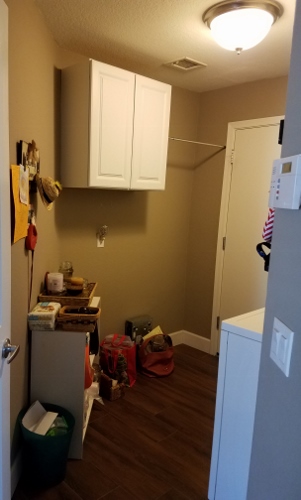
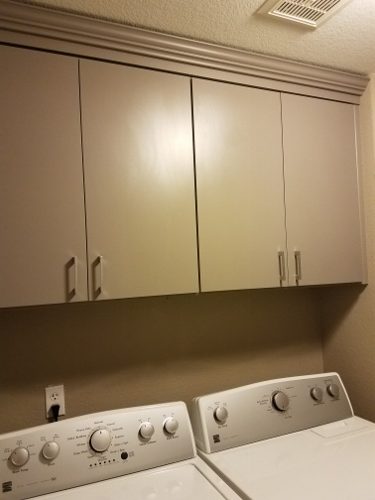
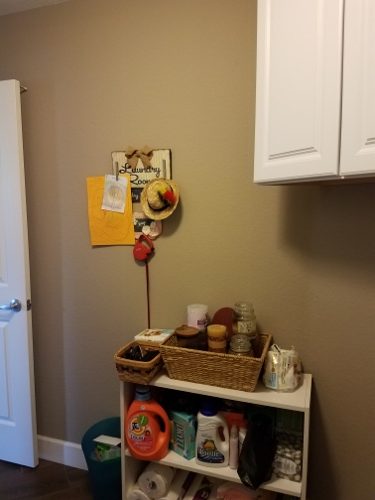
Here’s the before pics. It’s an oddly shaped room. There’s a 5 ft area behind the door that is 13″ deep. But then the wall comes to an angle and the area becomes really narrow. So I thought the best option to improve the function of the room was to focus on that 5 ft area across from the washer/dryer.
The picture in my head…
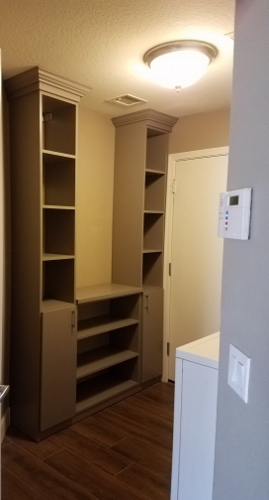
Now that I knew I wanted to add storage to the room by focusing on the 5 ft area, I started thinking about how I wanted it to look. I love decorative wire baskets and that was actually my jumping off point for the area. I decided I wanted some open cubicles with decorative baskets, an open book shelf and some cabinets with doors. And I wanted the cubicles to go all the way to the ceiling and be finished with crown moulding. I also wanted an open area on the wall between the two cubicle to do something decorative.
That’s a very specific idea in my head! I looked at Ikea to see if I could piece cubicles and a bookshelf together and just add cabinet doors on the bottom and moulding on the top but the cubicles at Ikea were too deep. I couldn’t have more than 13″. So to get exactly what was in my head I knew I would need a custom cabinet.
Enter California Closets…
A custom cabinet was more than I wanted to attempt myself so I either needed to find a carpenter and get them to build something to my specifications, or call California Closets who I’d used before on a closet for my mom. I decided to call California Closets and at least have them come out for a quote.
When California Closets does a quote, it’s very specific. They provide aerial and front view sketches with measurements…
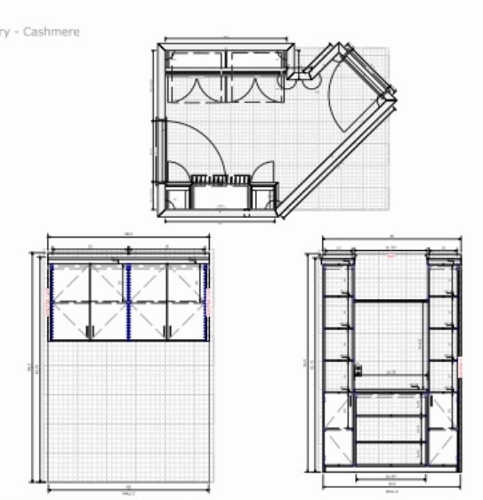
and 3D views! They make it so easy to envision the design in the room!
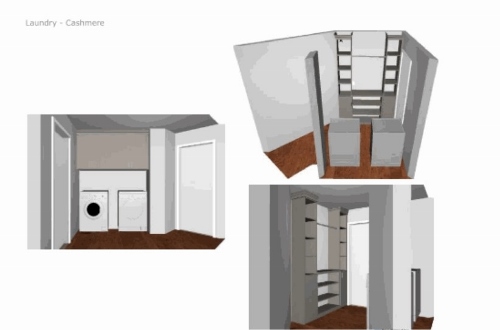
But California Closets isn’t cheap. The quote for the cabinets above the washer/dryer plus the floor to ceiling built-in with moulding, cabinet doors, hardware and a hanging rack was $2,900. They offered the colors of white or cashmere at no additional cost. With my taupe walls, the cashmere was perfect.
So I bit the bullet and ordered my custom cabinets! You have to put 50% down so I had the rep send me the paperwork and then I just had to wait.. Everything is done through e-signature so that made it easy. I signed the docs on April 3 and at that time they scheduled my install date…which wasn’t until May 11!
When May 11 arrived I was really surprised that only one installer showed up. He got there around 8:30 and didn’t leave until after 5pm. It was definitely a commitment of time! I was not expecting it to take all day and I wasn’t very happy about that. But when it was done I had a room that was exactly what had been in my head.
Decorating the room…
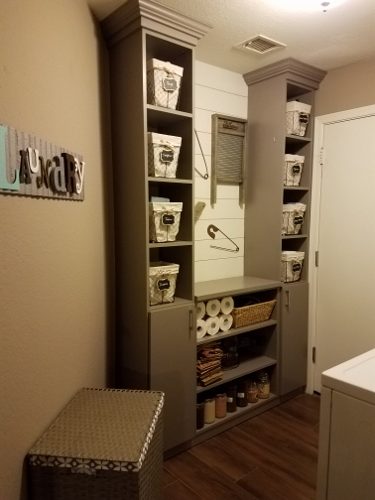
And now that the functional part was done it was time for the fun part…decorating! I liked the idea of putting shiplap on the wall, or maybe wallpaper but because the moulding was already installed I didn’t want to obsess over having to perfectly fit wood or wallpaper up against the intricate shape of the moulding. So I opted for painting the wall to look like shiplap and then accessorizing with some fun items.
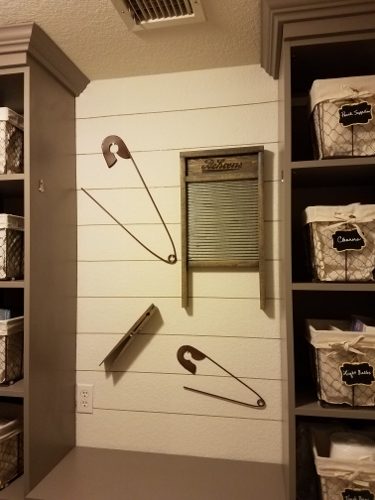
To create the look of shiplap I wanted each “plank” to be about 7.5″ so I measured down the wall and marked it at each 7.5″ interval. Then I just added some 1/8″ tape to where I’d marked the wall. The wall was already painted with Sherwin Williams Tony Taupe so the tape over the taupe wall created the look of space between the “shiplap”. When the tape was in place I painted the wall with Sherwin Williams White Flour #SW7102 and when I was finished painting I just peeled the tape away! There was a little touch up necessary. I have textured walls so a little paint bled under the tape, but it was easy to touch up.
Time to accessorize!
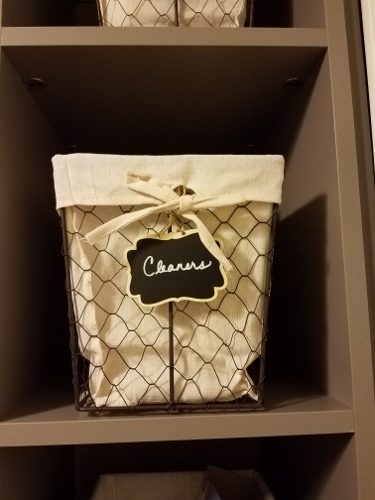
I knew I wanted baskets in the cubicles but I couldn’t find the size I wanted! I looked everywhere! The cubicles are 12x12x13 and everything I found was too deep, not tall enough, etc. So I had a choice. I could either obsess over the perfect sized basket, or find ones that would work and call it a day. I chose the less stressful route. I love how these baskets look. And I thought little chalkboard tags as labels for the baskets would be cute so I bought some tags too.
Then it was time to figure out what to hang in the newly painted area. The first thing I thought was…washboard! But all the ones I found were too…new looking! So again I had a choice. Search every vintage store in Phoenix, or order one online and change it up. So I ordered one and then stained it with Minwax Classic Gray. It made a huge difference and I love how it turned out.
I’d also seen giant safety pins on a nursery wall and thought that would be really cute in a laundry room. And as a crafter, I’ve done projects with 12″ clothes pins before so I thought that might be fun too…except it also was too new looking so I stained that as well.
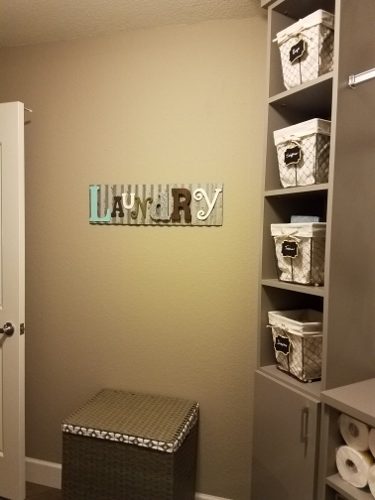
And then on that angled wall I wanted a fun laundry sign and found an awesome one!
So that’s it! It took no time at all to stain and hang the items in the room and then it was done! My laundry room is now functional as well as pretty and I love it! Does it make laundry more fun? Lord no! But it makes it more tolerable. 🙂
I hope you enjoyed this next room in my fixer upper – the laundry room!
Happy tinkering,
Susan

Susan, how did you hang your washboard? I have an antique one that I want to display by hanging.
Hi Amy… I just used two small nails at the top. Mine has a little area that protrudes out at the top so it was easy to just hang it on there.
Where did you find the safety pins?
Hi Jennifer… Here’s the link: https://amzn.to/2EXQEmv
Hi can you tell me where you found the laundry sign?
Hi Mary…here’s the link. https://amzn.to/3dYr52e