
So here we are in the next room I tackled in my fixer upper – the family room!
This post contains affiliate links. See our disclosure here.
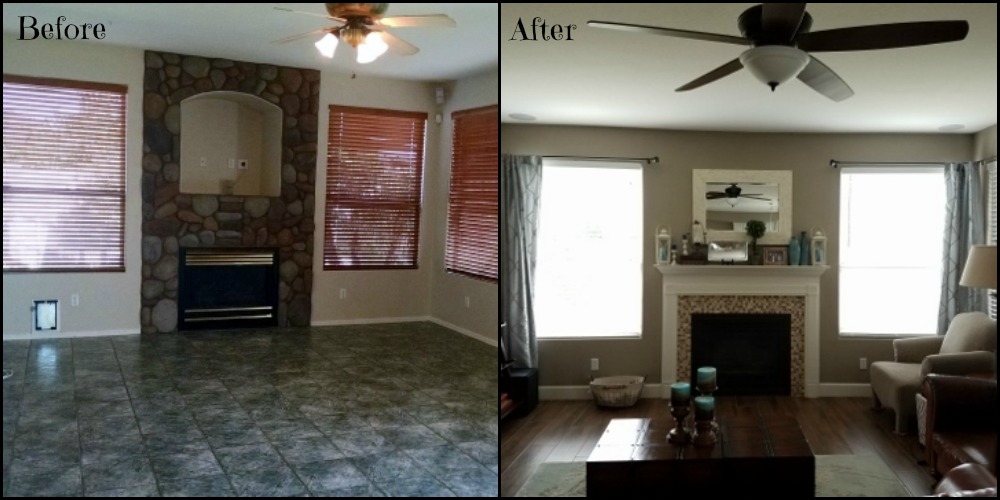
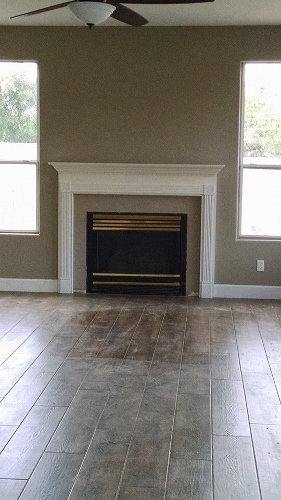
When I bought my current home, this is what the family room looked like…

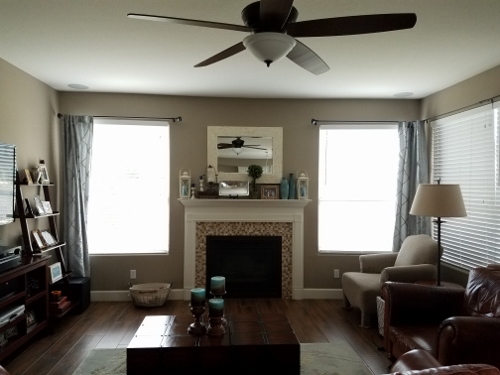
and this is what it looks like now.
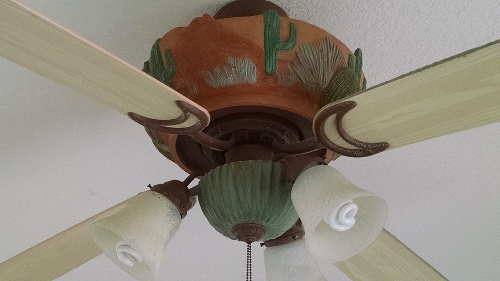
Just like the kitchen and bathrooms, the family room needed some love. The floors were the same ugly green 12″ tile, the blinds were a reddish color, the ceiling fan was…oh, you just have to see for yourself. Let’s just say the previous owners were proud of living in the Southwest.
So here was the to-do list for the family room. It really wasn’t that much. The fireplace was the biggest task.
- Change out the fireplace surround and add a mantel
- Change out the flooring
- Paint the room
- Add new window treatments
- Change the ceiling fan
The Fireplace…
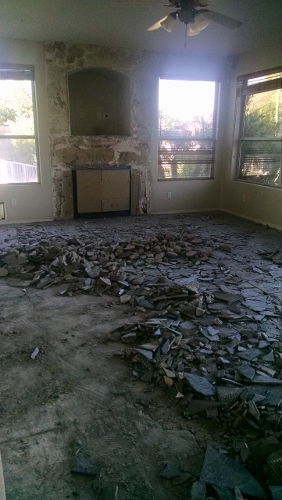
I probably would have tried to make the stone fireplace work if it hadn’t been for the giant hole in the middle of it. Obviously it was built for an old 19″ TV. I decided instead of trying to deal with what to do with the open area I would just remove the stone and sheetrock over the hole.
Removing the stone and the flooring was a giant mess! I am so glad I was able to do all this before I moved in. I can’t imagine living in this chaos…
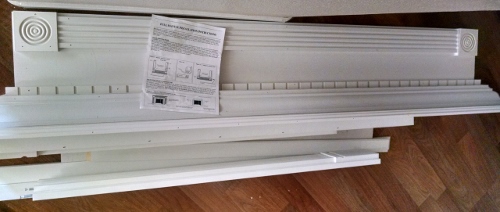
I wanted a mantel that would be simple and traditional. I’ve always loved dental molding so if I could find a mantel with that, it would be a bonus. I went online and started searching for mantels that could be delivered unfinished, so I could paint and install it. I found just the one I wanted on http://www.mantelsdirect.com/algonquin.html. When I measured for the mantel I made the space between the mantel and the fireplace a little bigger because I knew I wanted to tile the area.
The mantel arrived in pieces, with instructions on how to install it. So I went about painting it using a Swiss Coffee semi gloss paint. Sherwin Williams has always been my paint of choice but recently I tried Behr and was impressed. Both brands have excellent coverage. Behr is a little cheaper.
While I was painting the mantel, the sheetrock was being installed where the rock used to be surrounding the fireplace.

Once the mantel was painted, the sheetrock was up, and the wall was painted, it was time to install the mantel.
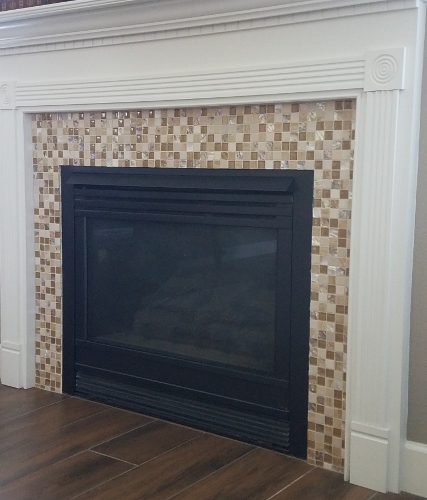
I kept the old fireplace because there was nothing wrong with it…other than it had a brass trim. To fix that I bought a Rustoleum Black Heat Resistent paint and just painted the face of the fireplace. Brass be gone!
Then it was time to look for some tile that would look good in the room and I found this beautiful multi color tile with accents of mother of pearl. It was a little expensive ($35 a 12 inch sheet), but I didn’t need that much of it so I splurged. And I saved money by installing it myself with the help of my wonderful friend Jeanette.
So here’s how the fireplace turned out and I love it.
The windows…
Because there was sooo much to do in the house there were decisions I honestly didn’t spend a whole lot of time and effort on. The window treatments were one of those. I measured the windows throughout the entire house and then went on the Select Blinds website and just ordered white blinds for all the rooms.. Then for the family room I went to Bed Bath and Beyond and bought four 96″ panels and some simple rods and installed them myself.
The floors…
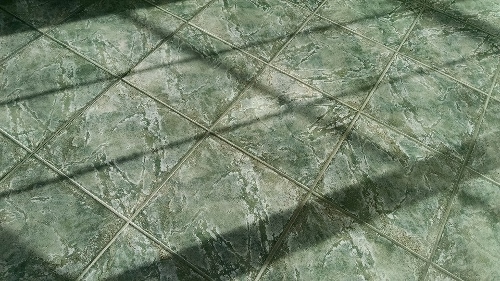
The floors took years off my life! I went to a local tile store in the Phoenix area and ordered some nice, porcelain tile floors that had the look of wood. They were going to be installed throughout the whole downstairs. They were scheduled to arrive in a couple of weeks…and then I got a call from the tile store saying my tile was sitting on a ship at the dock in LA…but there was a strike and no dock workers were working so my tile wasn’t going anywhere. He had no idea how long the strike would last so he suggested I come in and pick another tile. So I did that. I found a second choice, ordered it and was on my way. I got a call the next day saying my second choice was on the same ship as my first choice! So now it was back to the store for my THIRD choice. And that’s the tile I ended up with. It’s beautiful but way darker than I wanted. It shows every speck of dust, every paw print, every drop of water as my dog Jack walks across the floor after getting a drink. But all that drama was totally worth it because this is what the original tile looked like…and it was everywhere! Agh!
The walls…
As I mentioned before, I’ve always been a Sherwin Williams fan, so I searched through my fan deck to find a color for the downstairs walls. I wanted a taupe color and ended up with this rich color called Tony Taupe. I liked it so much I decided to paint the upstairs that color as well. The only rooms I changed up were the bathrooms, and they were painted a sage green called Majolica Green.


In my Bathroom Makeover post I talk more about the painting process and how fussy I am when I paint… 🙂 But in this project I had a company painting the entire interior so I spent my time painting the mantel, hanging the window treatments and tiling the fireplace.
So that was it! My family room is one of my favorite rooms in the house. It’s warm, comfortable and pretty.
On to the next room!
Happy tinkering,
Susan
