
My mom was famous for her fried chicken. Well, at least in our circles… It’s light and crispy, easy to make, juicy and delicious! She made it my whole life and a few years ago she passed the torch to the next generation to make it. I hope you enjoy this simple recipe of my mom’s fried chicken.
This post contains affiliate links. See our disclosure here.
It’s not a fussy chicken…
When looking up fried chicken recipes you’ll often see the chicken is brined overnight or soaked in buttermilk. I’m sure these things make a delicious chicken, but my mom never did any of that. Hers is so simple! The secret to my mom’s fried chicken is getting the proportions of the flour mixture correct. If you use too much flour it dilutes the spices and makes the chicken bland. I had to learn that lesson the hard way…
Another thing you want to make sure of is the temperature of the chicken before frying. If it’s right out of the refrigerator it will reduce the temperature of the oil and it can cook unevenly. Those are pretty much the only rules. I pat the chicken dry before I fry it too, just to make sure there is no excess water in there…but I don’t think my mom even bothered with that!
Tools of the trade…
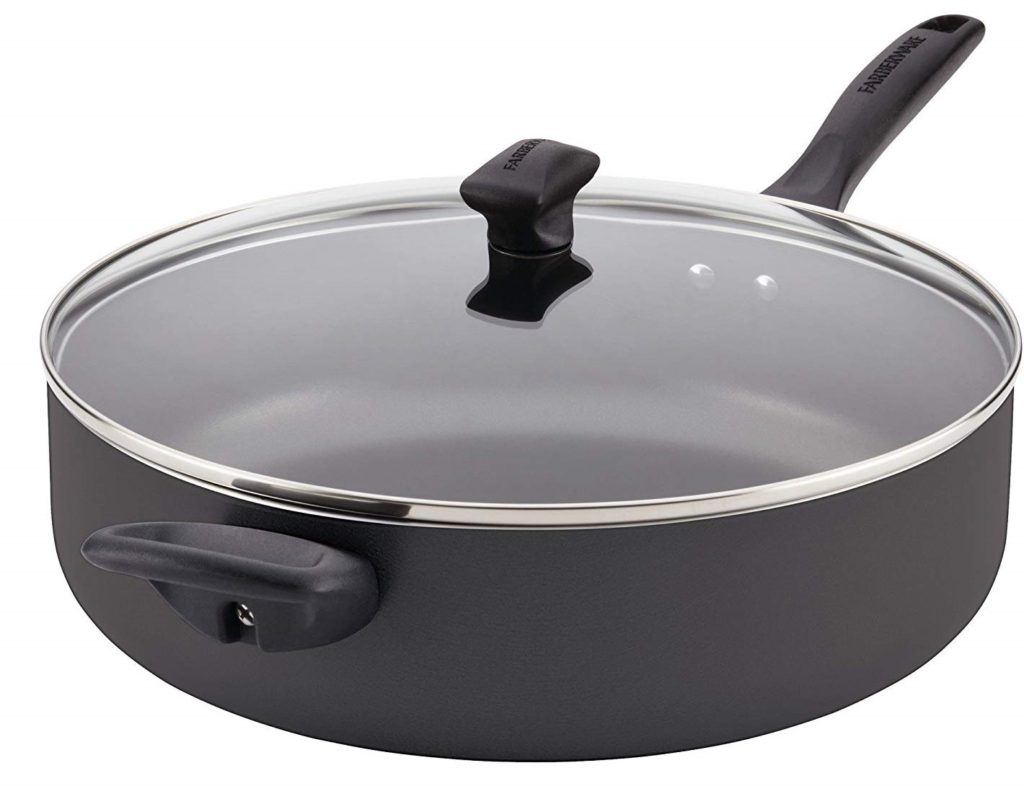
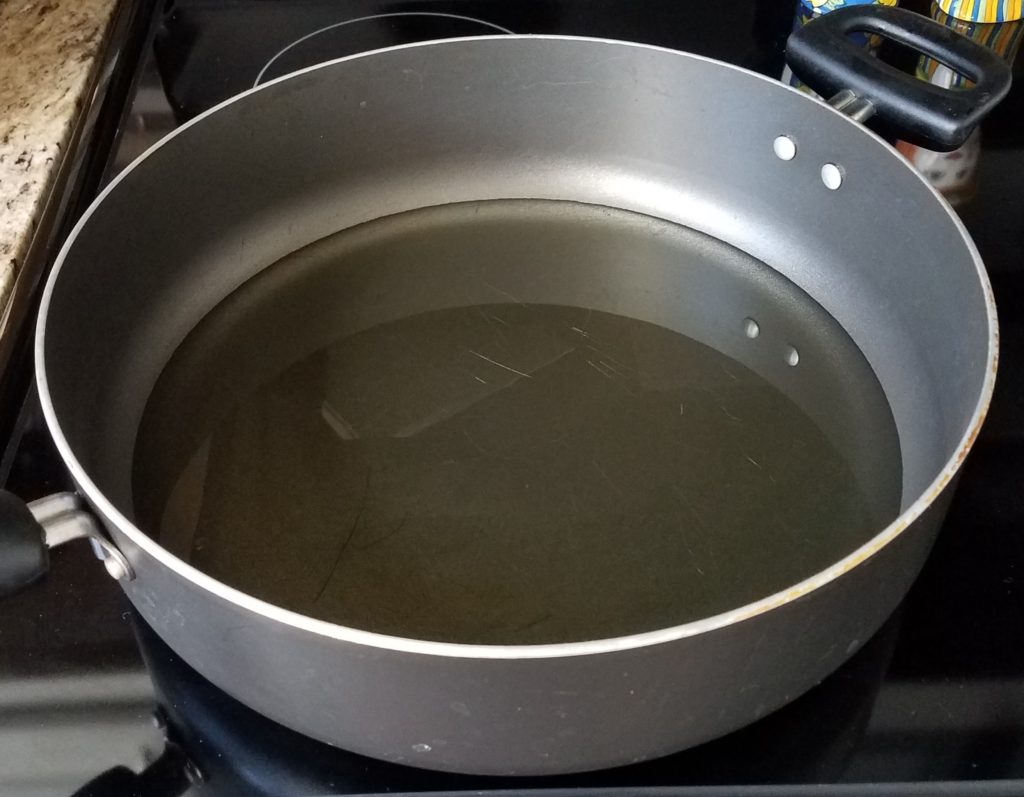
For fried chicken, the ingredients are only part of the recipe. Having the right tools makes all the difference. You’ll want to use a non-stick pan that is fairly deep and has a lid. A non-stick pan ensures you don’t tear the breading off the chicken when you’re turning it over. I am a huge fan of cast iron skillets and some will swear they’re the only way to fry a chicken, but I have found the batter can stick in cast iron so I prefer to save my cast iron for other yummy things…like pineapple upside down cake!
I have two of these pans and love them! The one pictured is an updated version of my beat up old pans. They’re so deep and roomy, they’re non-stick and they have a lid. Everything I need to make my mom’s fried chicken!
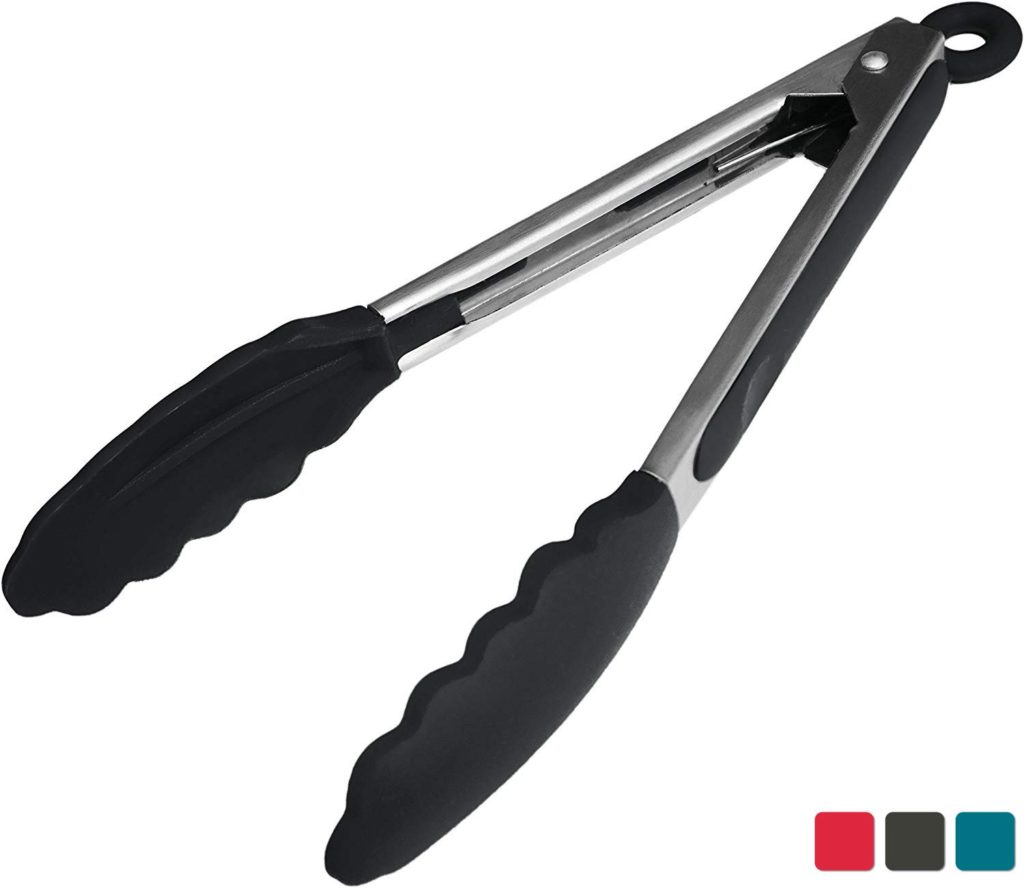
Tongs are another necessity when making fried chicken. I love the non-stick tongs they have today. I used to use the old metal tongs and batter gets stuck on them, and then they stick to the chicken. The non-stick tongs are a game changer. These are the ones I use.
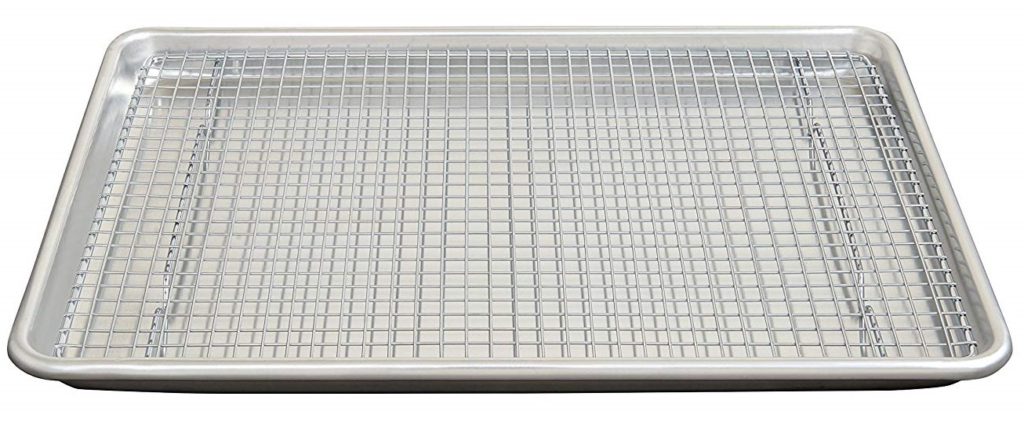
I also like to put the finished chicken on a rack inside a jelly roll pan…or a half sheet pan…or cookie sheet. Those terms are often used interchangeably but this is what I use.
Now that you have everything you need, let’s fry some chicken!
Here’s what you’ll do…
Add oil to the pan, on medium heat. The amount will depend on the size of the pan. Estimate just less than half the depth of the chicken.
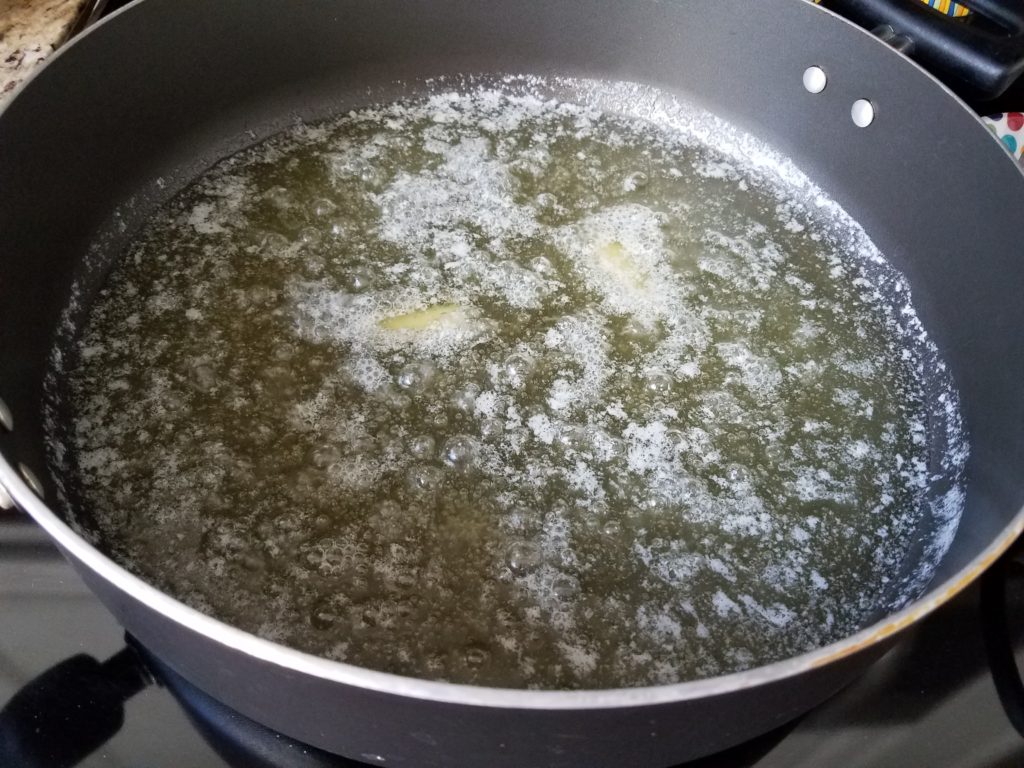
Add a stick of butter to the oil.

Let the butter melt. Test to see if the oil is hot enough by flicking a small amount of water into the oil. If it sizzles right away, it’s hot enough.
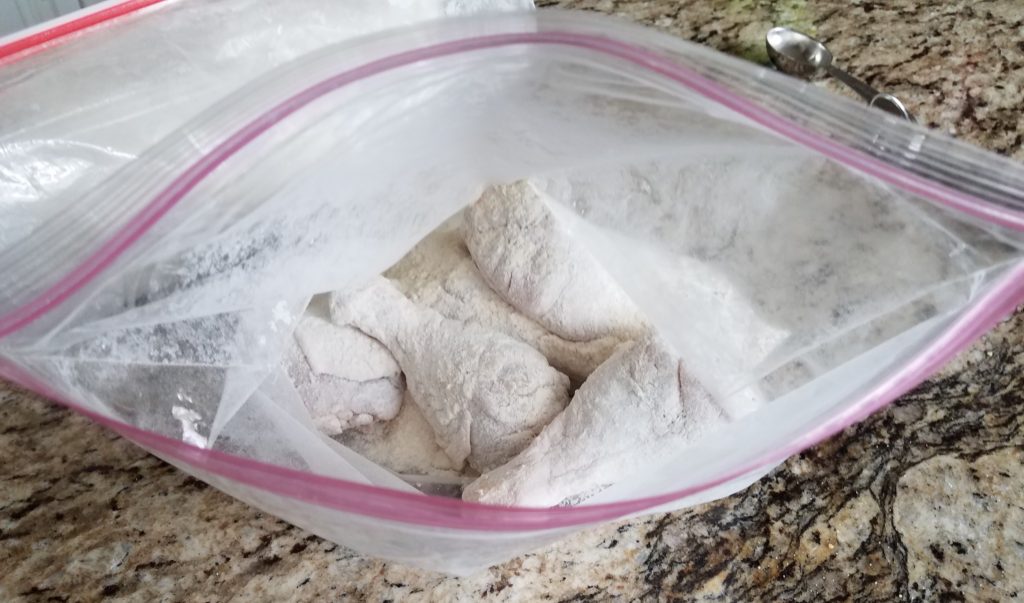
While the oil is heating, add flour, onion powder, salt and pepper to a gallon baggie. Zip up and mix well. Then add the chicken and toss to coat.
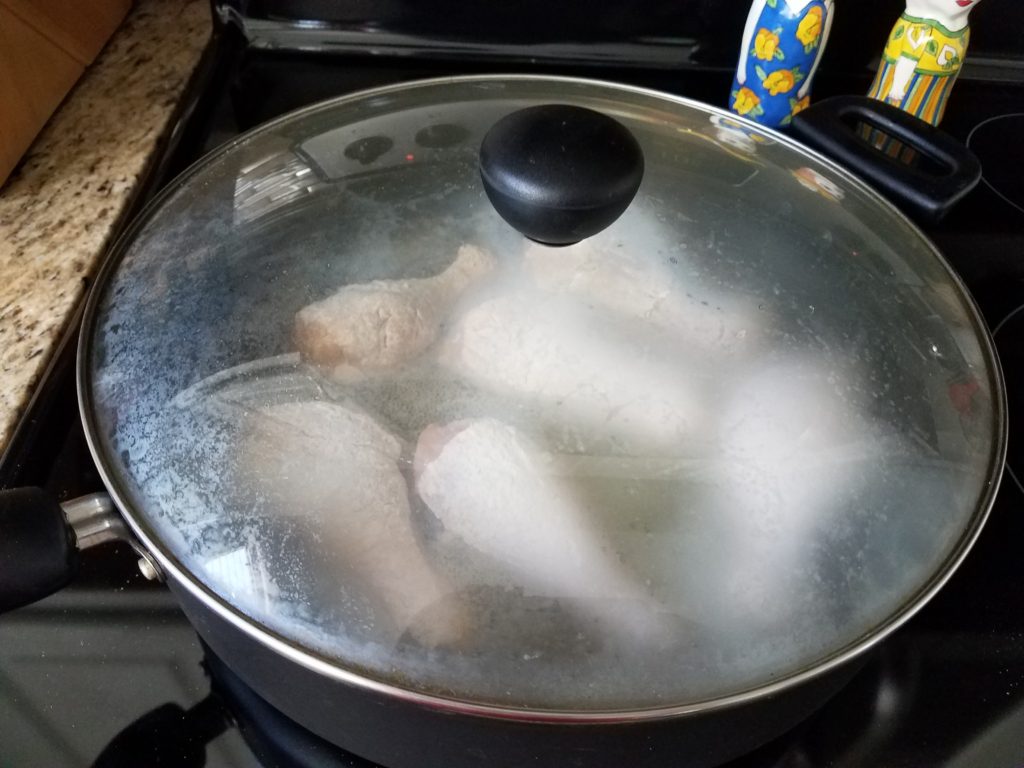
Gently place chicken in the pan. It will be hot!
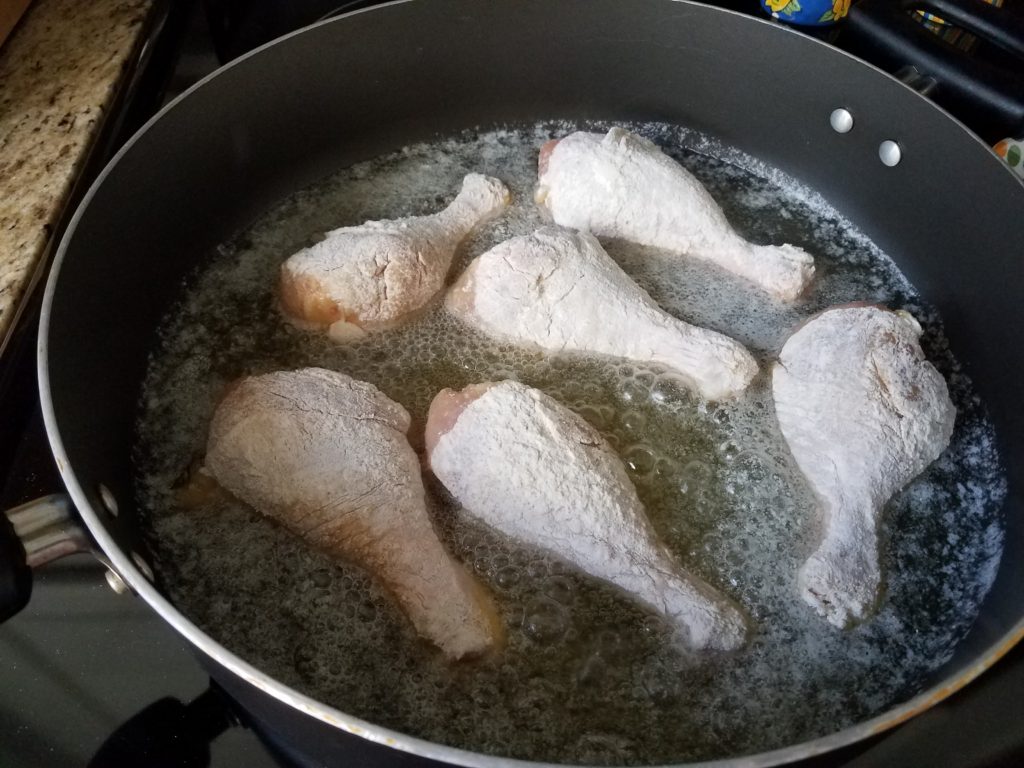
Put the lid on the pan and leave it alone!
If you use the type of pan shown, it will take about a half an hour on medium heat to get the first half done. Other types of pans, like cast iron, may have different cooking times.
The cooking time will be a bit longer if the chicken is really cold because it will reduce the temperature of the oil when you initially put it in the pan. You’ll notice the loud sounds of frying will quiet down when it’s time to lift the lid and flip the chicken to the other side.
The second side of the chicken won’t take as long as the first, about 20 minutes. Again, listen to the sounds. It will get quiet when it’s done.
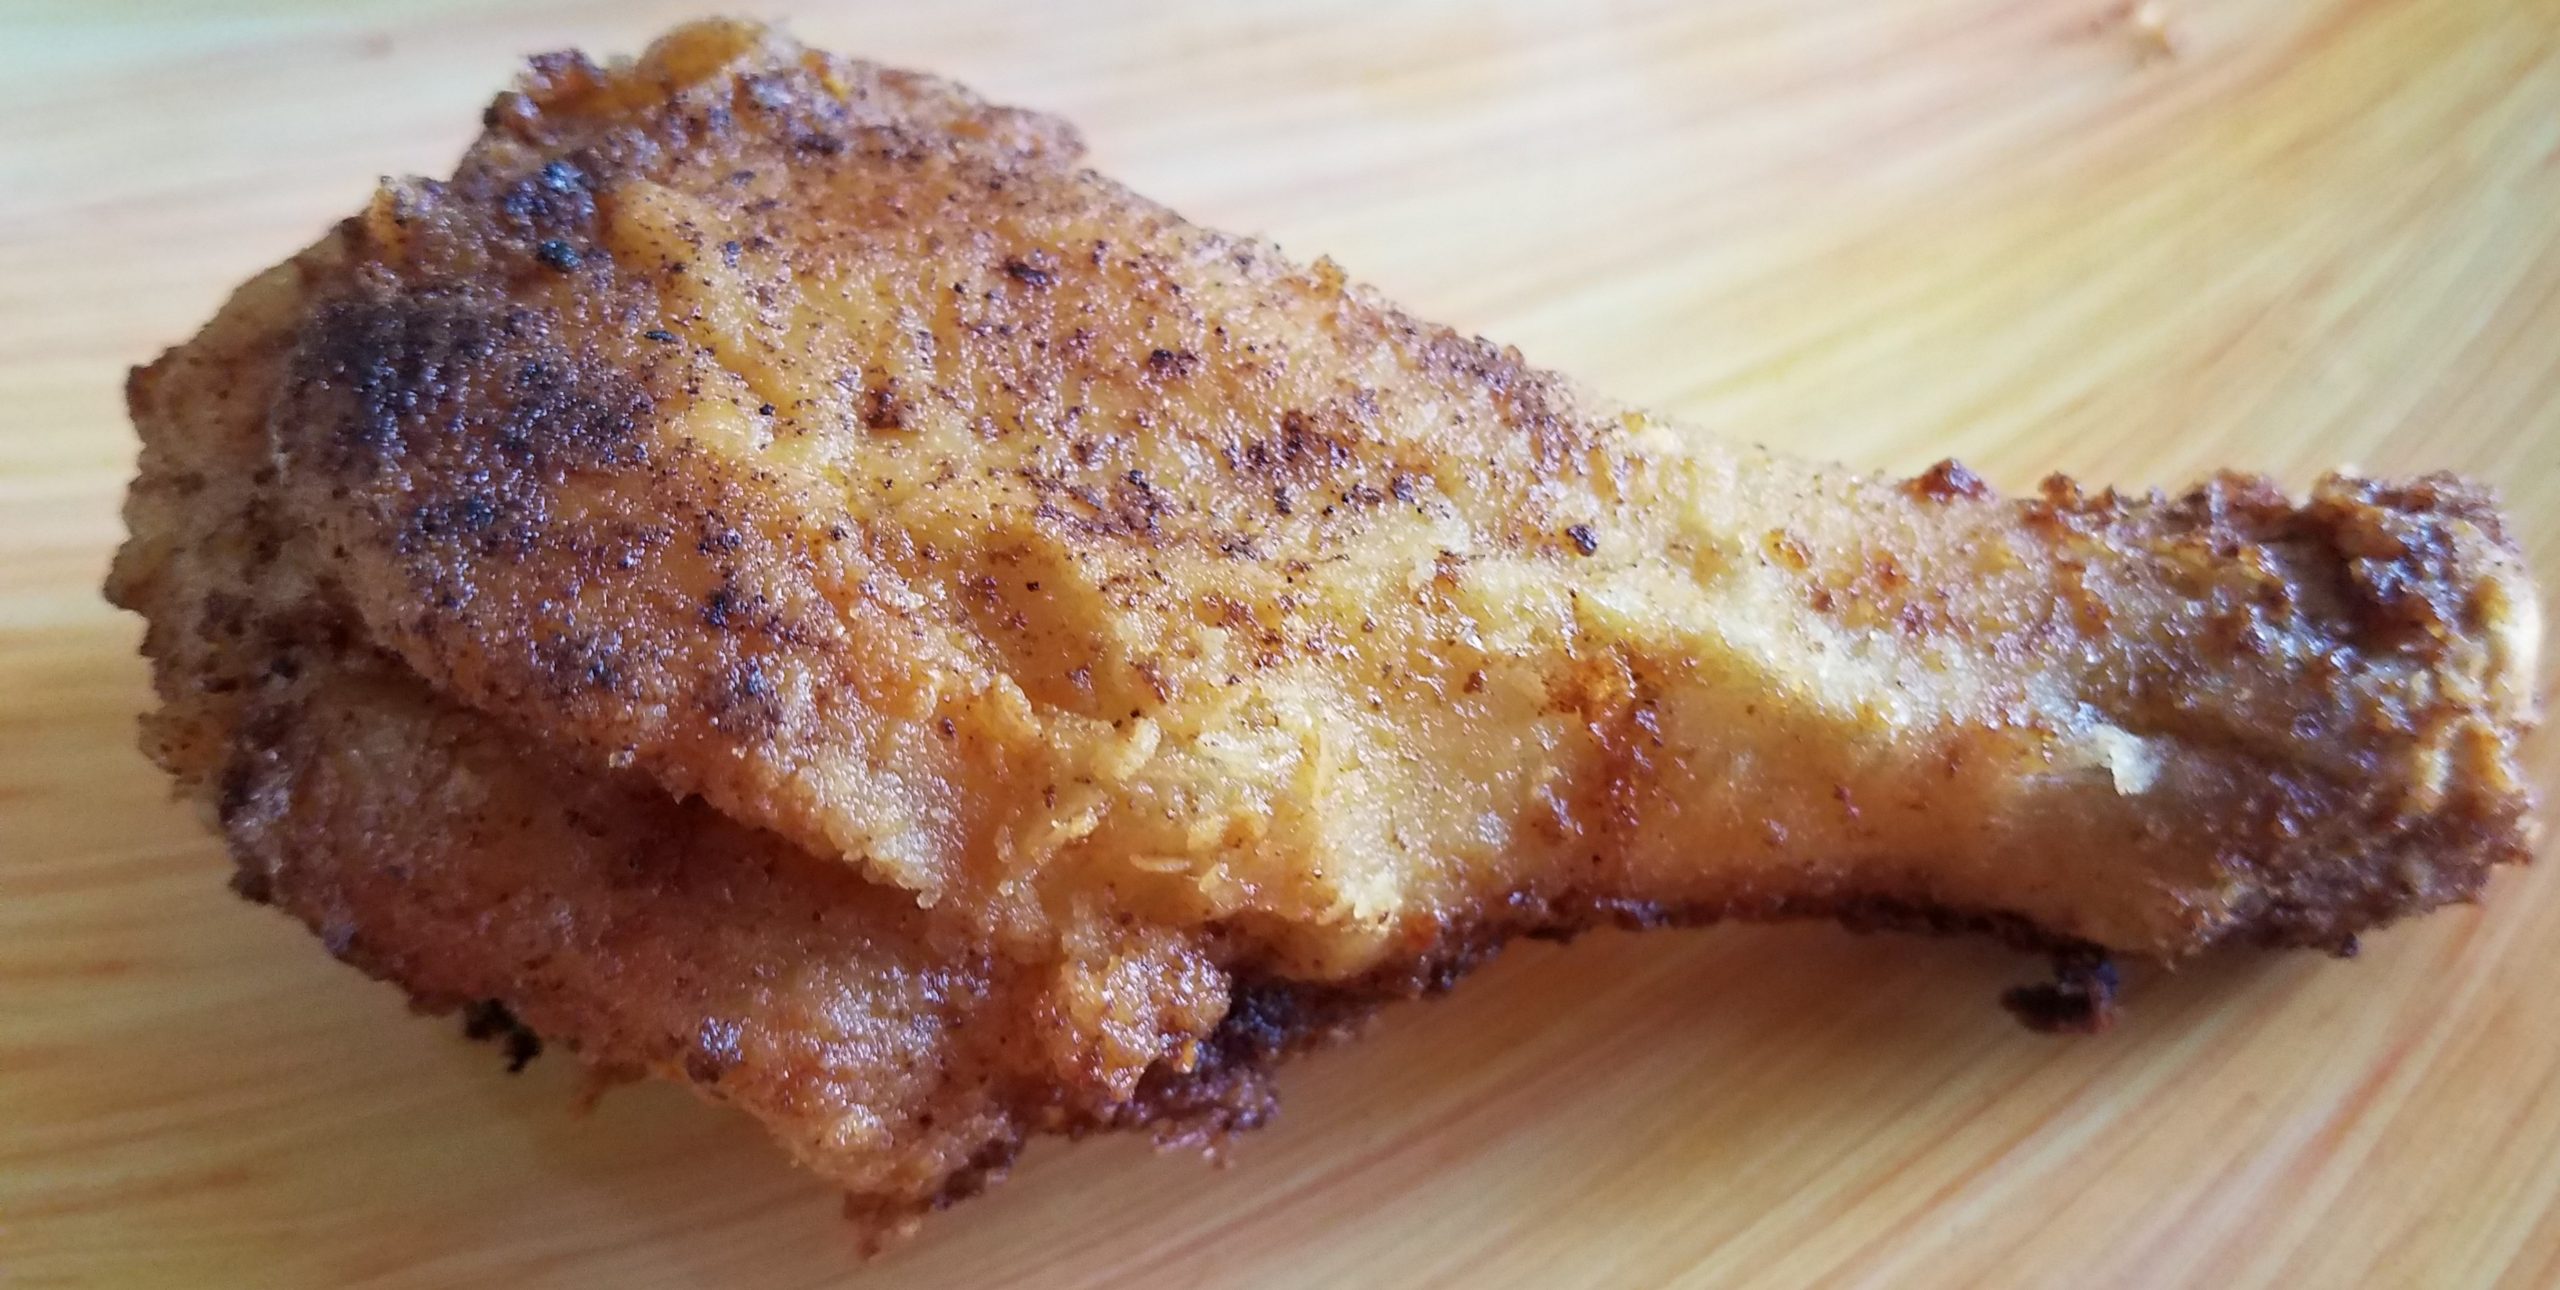
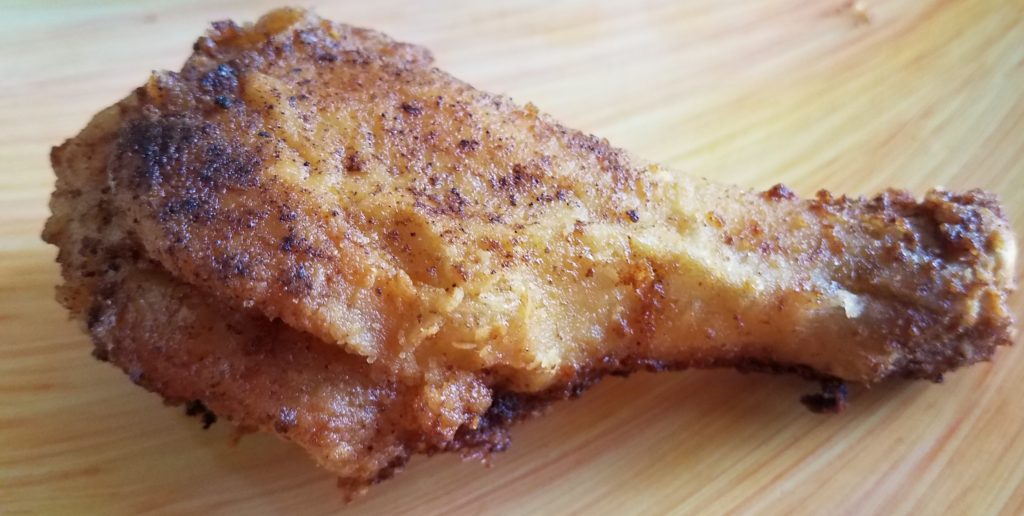
Here’s what it will look like when it’s finished.
Look how juicy! Enjoy!
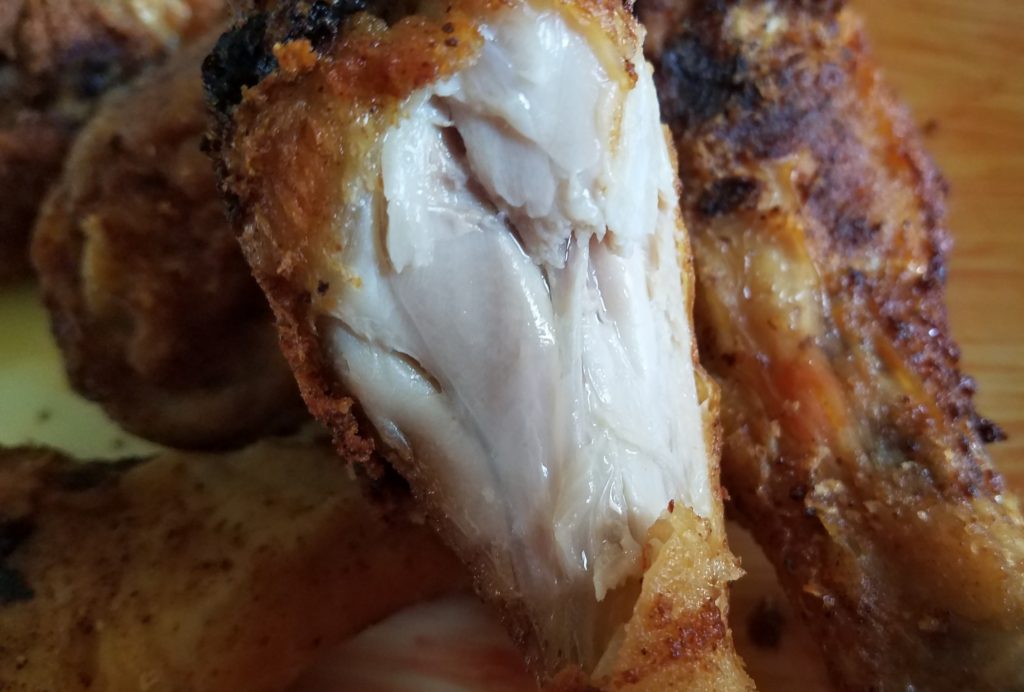
I hope you enjoy my mom’s fried chicken.
Happy tinkering,
Susan
- 1 cup All Purpose Flour
- 2 tbsp Onion Powder
- 2 tbsp Salt
- Pepper, to taste
- 1 stick Salted Butter
- 8 Drumsticks
- 1 One Gallon Zip Lock Bag
- Vegetable or Canola Oil
-
The times in the instructions are based on using the type of pan shown in the blog. Cast iron and other types of pans will have different frying times...
-
Add oil to the pan, on medium heat. The amount will depend on the size of the pan. Estimate just less than half the depth of the chicken.
-
Add a stick of butter to the pan.
-
Wait until the oil/butter is hot. To test, flick a small amount of water into the pan. If the oil sizzles, it's hot enough.
-
In the meantime, add flour, onion powder, pepper and salt to a gallon size baggie. Mix well.
-
Add drumsticks to the baggie and shake well until fully coated.
-
When oil is hot, place the chicken in the pan and put the lid on it.
-
Now leave it alone for about a half an hour. Lifting the lid lets the heat escape. It's tempting but don't do it. You'll know when it's time by listening to the chicken. Frying is loud. When it starts to quiet down, the frying is done on that side.
-
Using tongs, gently turn the chicken over. You may need to test to make sure the batter hasn't stuck to the bottom of the pan. If it has, gently use the tongs to release the batter before turning.
-
The second side doesn't take as long. Start listening for the quieting sounds at about 20 minutes.
-
When the chicken is crisp and brown on both sides, remove from the pan and place on a rack to allow the oil to drip off the chicken.
-
Serve and enjoy!
