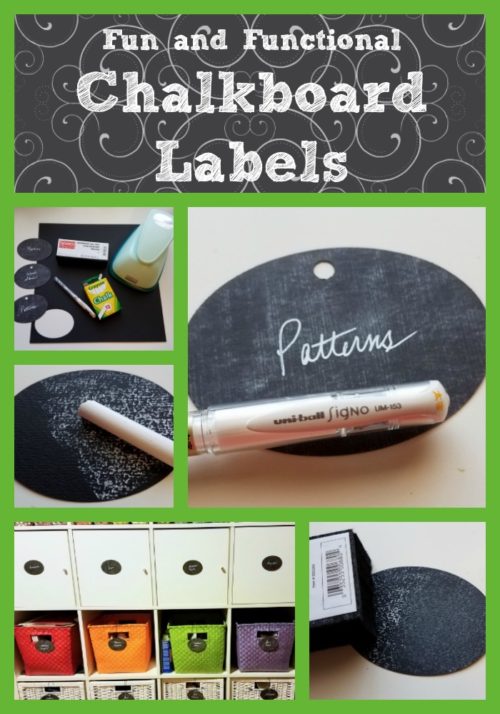
I originally created these chalkboard labels as a cute way to label my craft supplies. But I liked them so much I used the same labels in my kitchen. https://thetinkeringspinster.com/2017/09/21/organize-weight-watchers-snacks/
I have a whole room dedicated to crafts, diy and other tinkering so I had to get organized! Check out my craft room post to see how the whole room came together. https://thetinkeringspinster.com/2017/09/25/my-mostly-organized-craft-room/. These labels are so easy to make and as an added bonus they make organization so much prettier!
Here’s what you’ll need:
Small hole punch
Piece of black cardstock
XL Oval Punch or oval die cut of choice
Chalk
Chalkboard eraser
White Signo Uniball gel pen
![]()
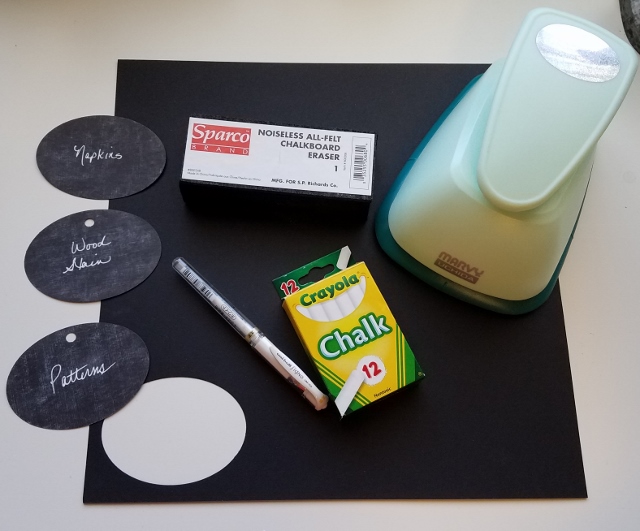
And here’s how you’ll make your own chalkboard labels:
1. Cut a label out of the cardstock using your oval punch or die cut.
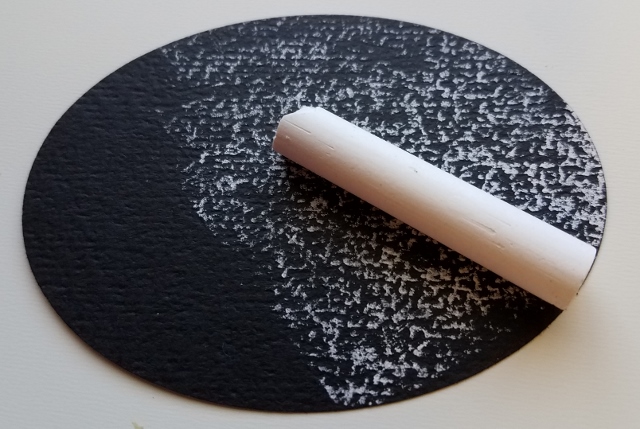
2. Rub the side of your chalk over the cardstock
![]()
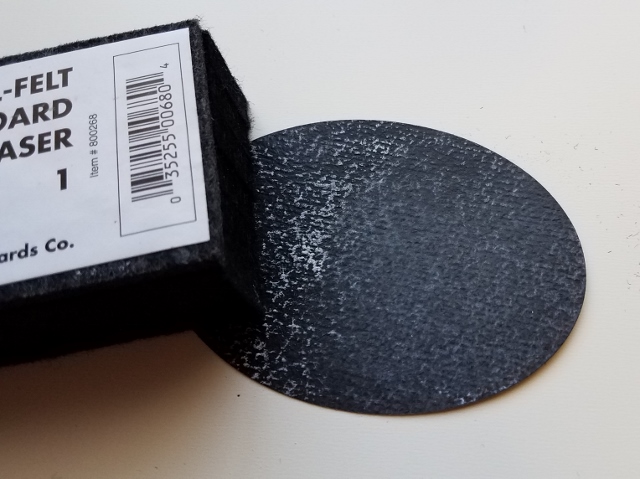
3. Erase the chalk using your chalkboard eraser
![]()
4. Punch a hole into the top of your label if you’re hanging it
5. Write the description of your label on the cardstock using the white gel pen
![]()
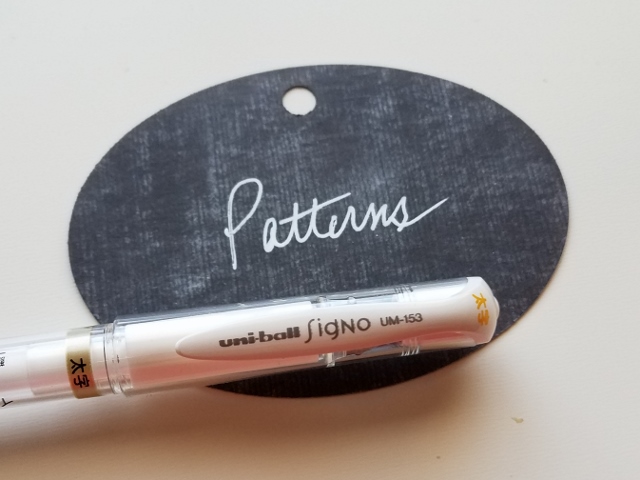
You’re done!
Happy tinkering,
Susan

