Update 2020: While I still enjoy the craft, I’m no longer involved with Chalk Couture.
Good morning! This is just going to be a quick post on how I slayed the 18×18 dragon! The 18×18 Chalk Courture transfers can be really difficult to work with if you don’t have a second pair of hands. The first time I tried…..well, let’s just say there were a lot of bad words involved!! It was sticking on itself, sticking on me, sticking on the surface I was trying to use…it was really frustrating. Aagghhh!
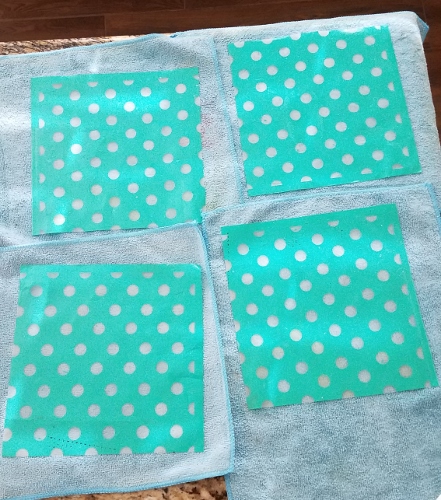
So, I thought — there are other transfers you have to line up and that works well so why can’t I cut it into 4 squares and just line it up? It was my a-ha moment!
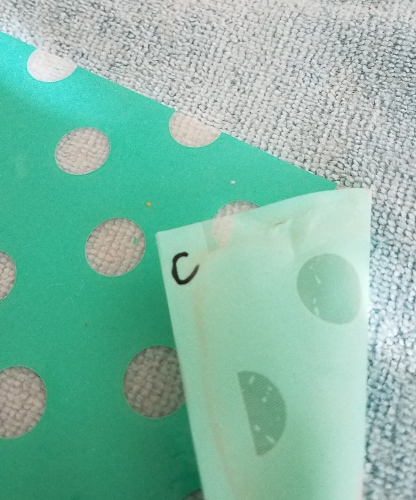
As I was cutting it I thought I’d better mark each section so I’d know how to line it back up.

Note: If I had to do it again, I wouldn’t cut it in exactly 9″ squares because that made the cut right in the center of a circle. It makes more sense to NOT cut in the middle of a circle, to cut in an area where you don’t have to add chalk between two transfers. Oh well, lesson learned. It still worked the way I did it.

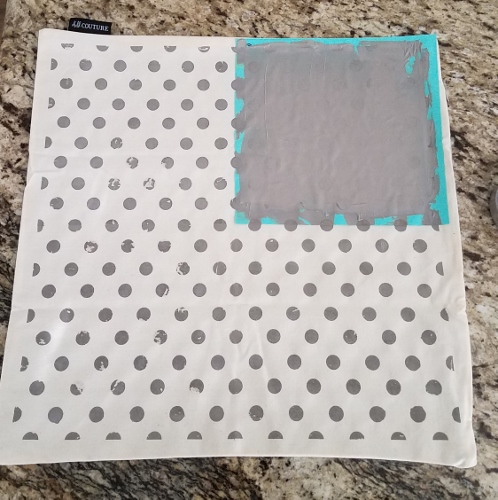
Because I live in the very dry desert of Arizona, chalk dries fast! That was another bonus of cutting the transfer. It allowed me to chalk in sections. But this first one I did I made a big mistake…I grabbed the wrong tub! I wanted the ink but I grabbed the paste. Ugh! We’ll call this one a sample.

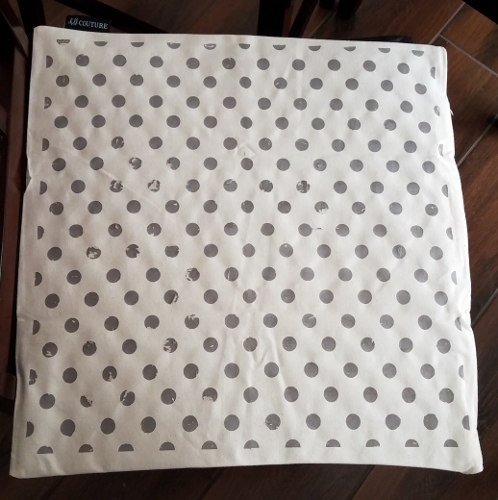
So that’s it. It worked beautifully!
I plan to cut all my 18×18 transfers down to a manageable size. I can’t take the pressure of working with that big, sticky monster! I hope this helps you if you’re having the same frustrations I was having.
Happy tinkering,
Susan


Thanks for the tip. Hope I’m not to scared to try it.
Good luck!