
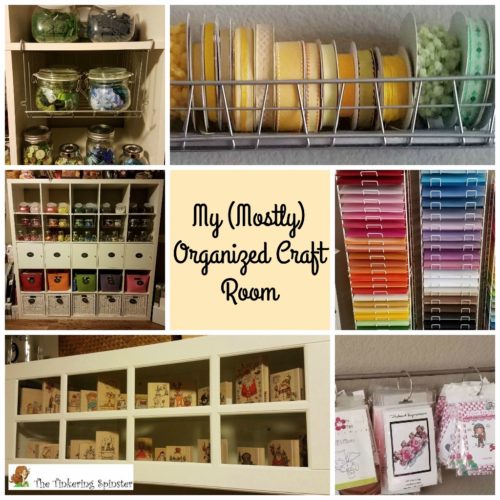
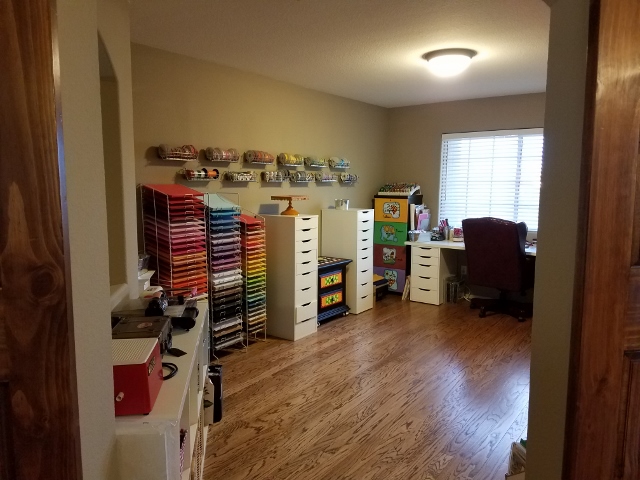
I don’t know about you, but I work so much better with an organized work space. Here is a peek inside my (mostly) organized craft room. It’s a room dedicated to crafts, diy and general tinkering. It holds A LOT of supplies, tools, surfaces and odds and ends that were in desperate need of organization. A few years ago my mom, two sisters and niece came over to help me organize the smaller craft supplies. They spent hours sorting buttons, ribbons, flowers, brads, washers and other teeny, tiny embellishments by color. They were troopers!
This post may contain affiliate links. See our disclosure here.
Most of these containers are from Ikea but the buttons are just in mason jars.
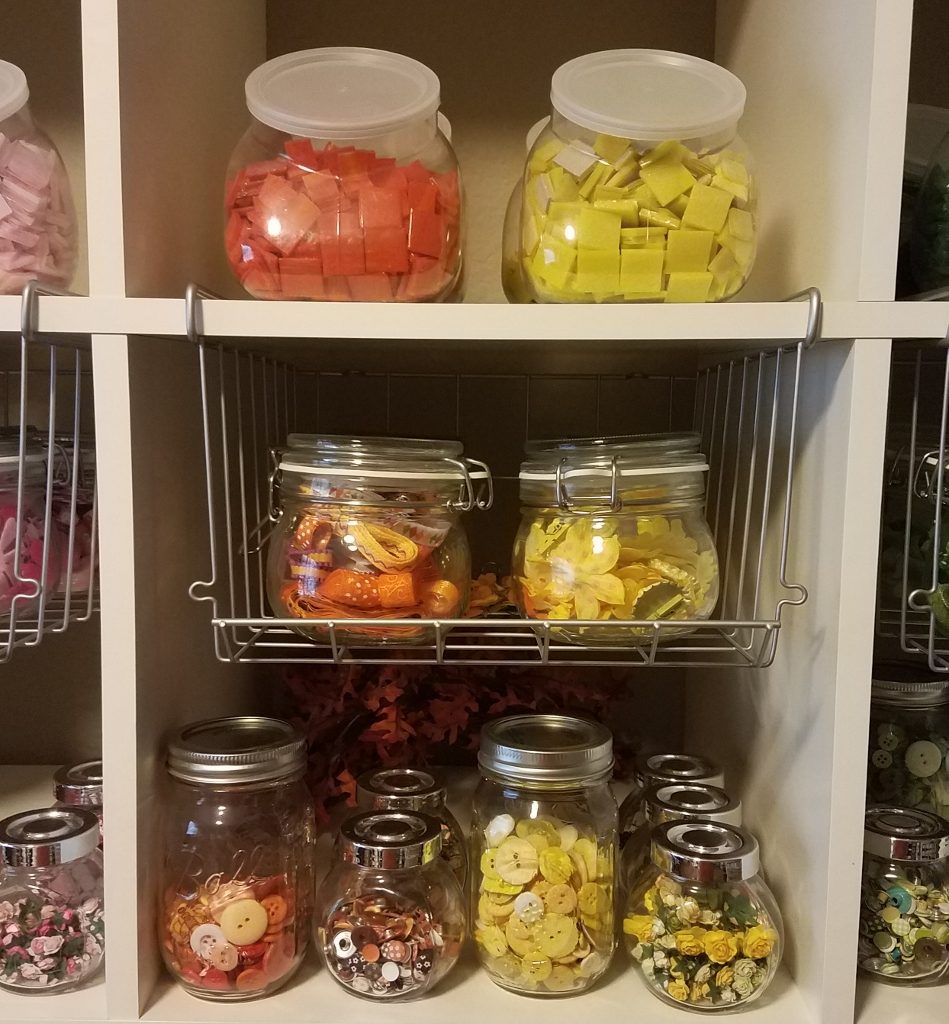
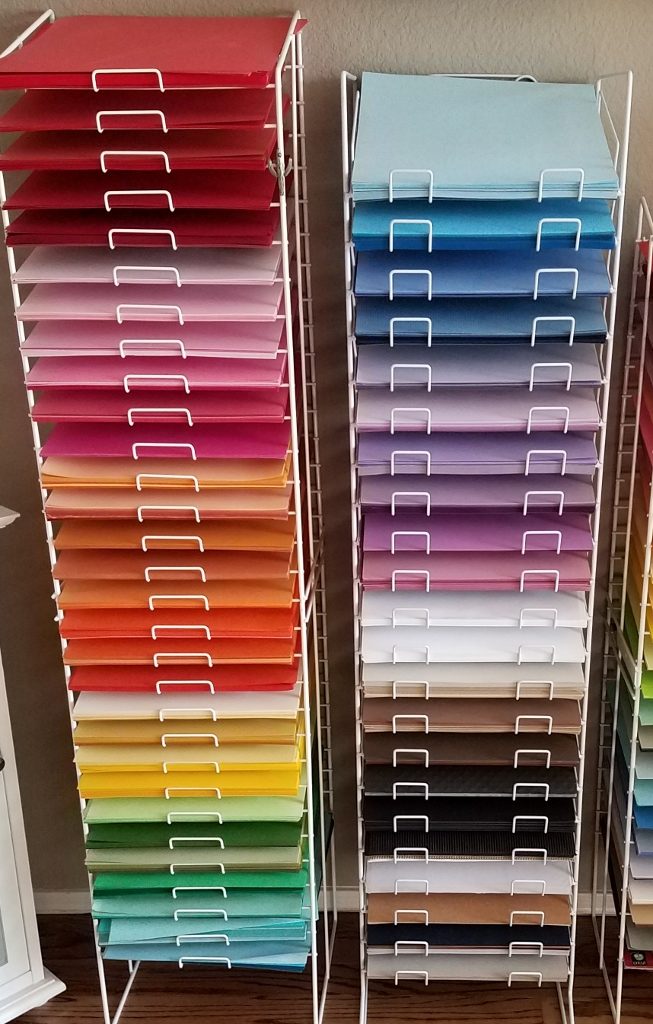
And then there were the stacks and stacks of cardstock that needed to be sorted by shades within a color, with discussions like…”what goes first, reddish purple or a bluish purple”? I was putting way too much thought into this and they were paying the price! Huh, perhaps that’s why they were mumbling under their breath by the end of the evening…
Who is Roy G Biv?
Before that day, I wasn’t familiar with Roy G Biv. I have a younger sister who was taught that name in school and I loved it! All this time I’ve been sorting color using the Roy G Biv method and I didn’t even know it! In case you’ve never been introduced to Roy, Roy G Biv is an easy to remember acronym for the order of colors in the rainbow as well as the primary and secondary colors on the color wheel…Red, Orange, Yellow, Green, Blue, Indigo, Violet (though Indigo isn’t really a secondary color).
Along with color coordinating all my craft supplies, I wanted to come up with fun ways to display some of my stockpile and tools. I found some great ideas on Pinterest and in Ikea.
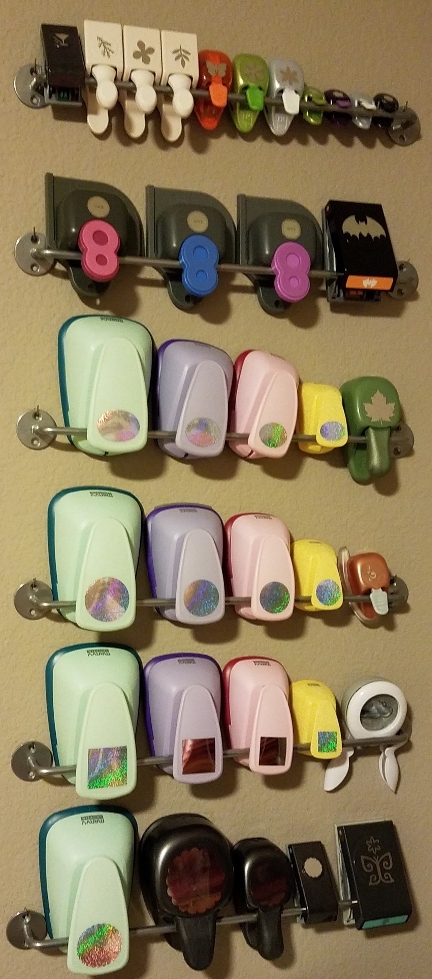
I needed a way to store my paper punches and I saw a pin using towel rails from Ikea! The original blog no longer exists so I can’t give credit to this great idea.
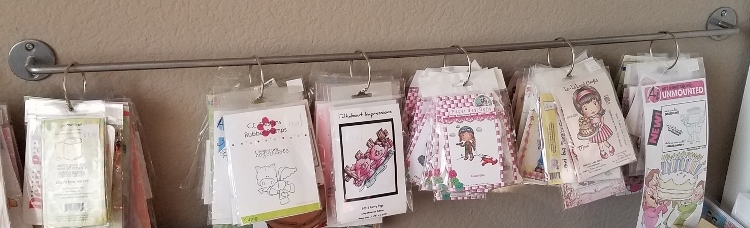
I also took inspiration from that idea and got some longer towel rails to store my unmounted stamps. Yep, also from Ikea!
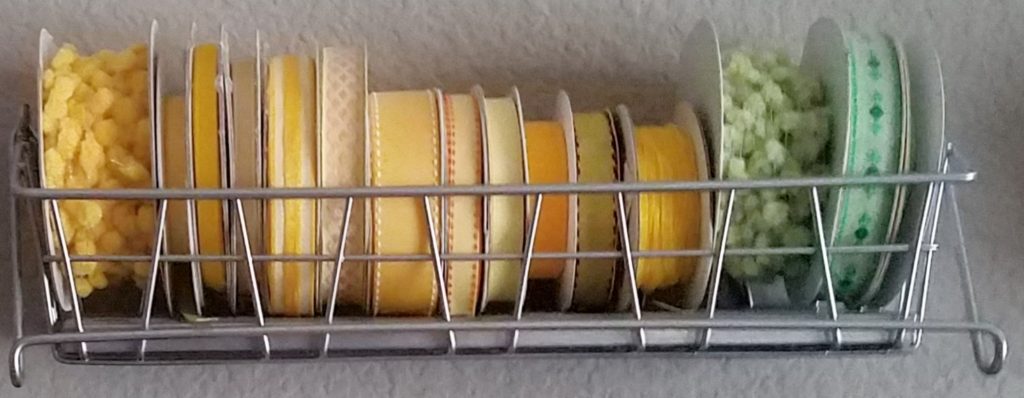
Pinterest and Ikea came through for my ribbon storage too. I found this creative way to store my ribbon from this pin here. Shocking…it’s also from Ikea.
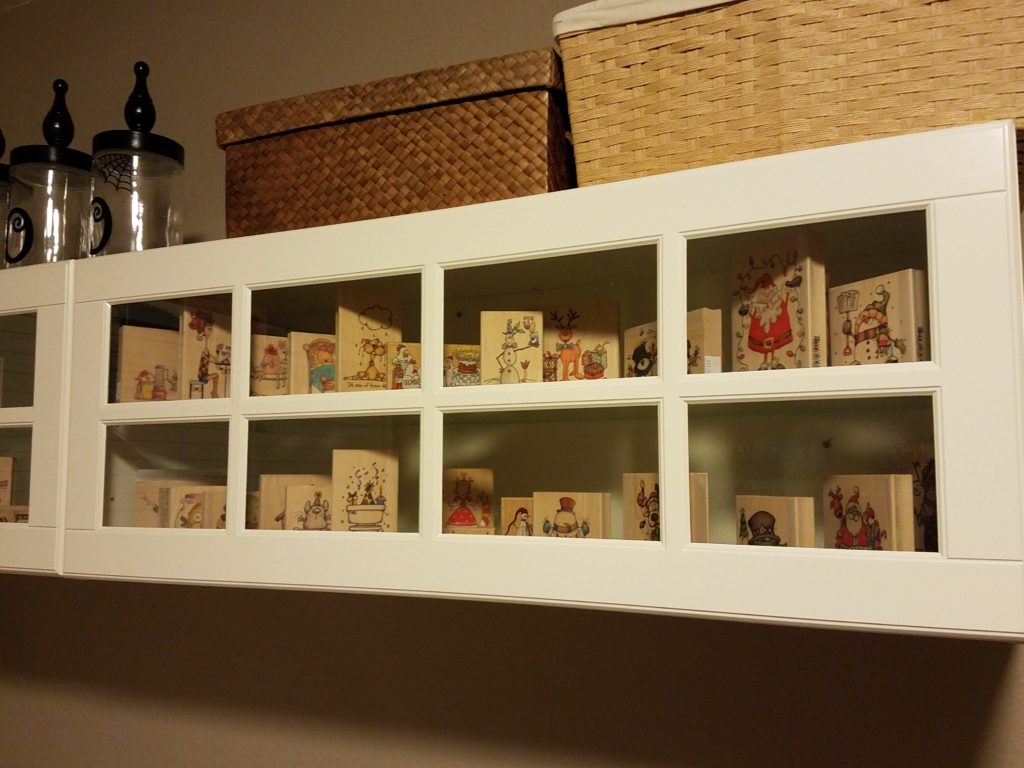
Some supplies are just too fun to be stuck in a drawer. Most of my wood mounted stamps are from Whipper Snapper. www.whippersnapperdesigns.com. I love their stamps! They just make me happy. So I wanted a way to display them but not take up alot of space. I came up with the idea of hanging a cabinet with a glass front. Now I can see my happy stamps every day but they don’t take up any surface area in the room.
A new gig as an Ikea spokesperson?
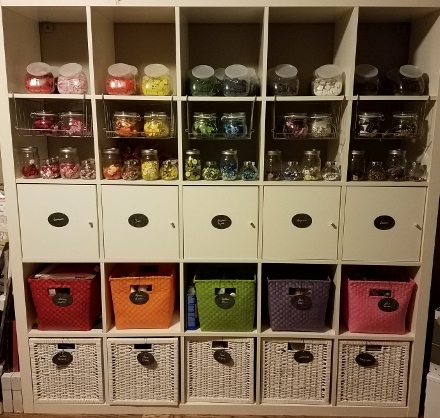
This wasn’t necessarily by design, but looking around my room I see Ikea everywhere! They just have so many great pieces of furniture that are conducive to creative spaces. The first piece I got for the room was their famous Expedit cubicles. I believe they’re no longer Expedit, though. The new brand they carry is Kallax. These cubicles are so versatile. You can dress them up with baskets, or doors can be added to hide the things you want hidden. The bright baskets in the picture below are from the Land of Nod — which is now under Crate and Barrel: https://www.crateandbarrel.com/kids/bins-baskets/1. I also found these Ikea wire baskets that divide the 12″ space into two tiers for even more storage! http://www.ikea.com/us/en/catalog/products/10345073/. And if you’re going to have storage you need labels! Follow this link to see how I made the chalkboard labels: https://thetinkeringspinster.com/chalkboard-labels/
I plan to do a video of the whole room…when I can find the table under all of the partially finished projects. In the meantime, here’s a couple of shots from different angles of the room when I was between projects.

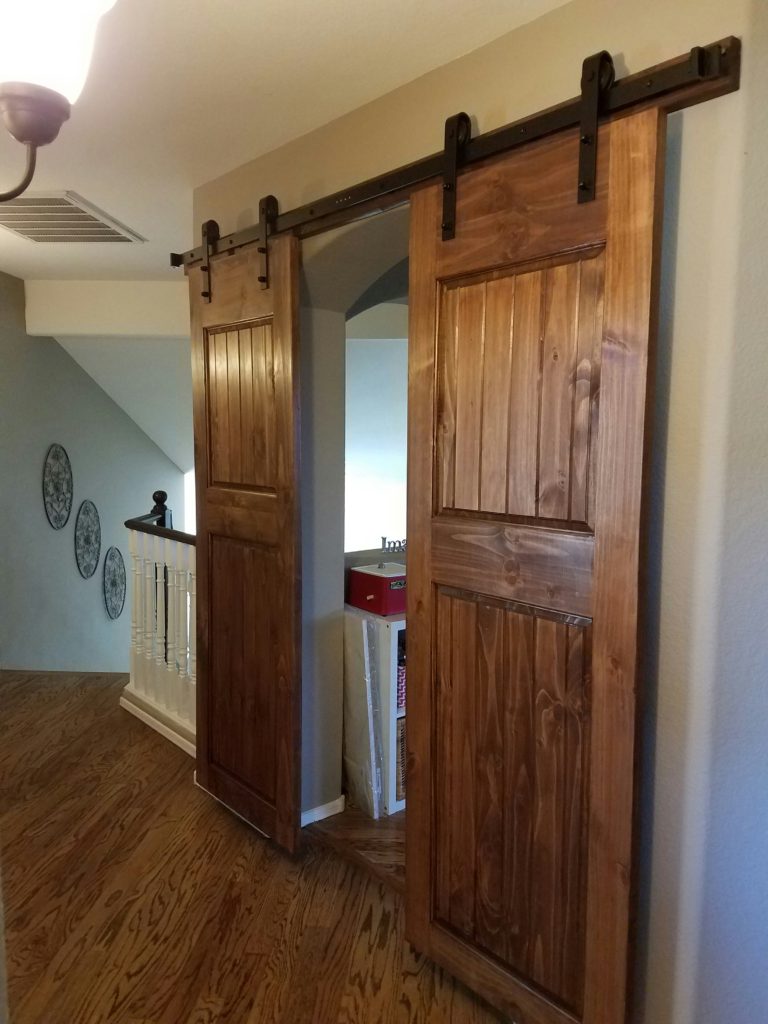
And last but not least…the room itself doesn’t have a door. It’s considered a loft and has an arched, open doorway. I wanted a way to close the room off if it gets really messy so I added these barn doors. I got the raw wood doors from Home Depot as well as the hardware to hang them. Then I just stained the doors with a Walnut stain. I love how they turned out!
I hope you enjoyed my little corner of the world. Leave me a comment and let me know what works for you in your space.
Happy Tinkering!
Susan

Looks very neat and organized. I also try to organize my clothing in my room by color as well!I love it.
Wow, very organized. You must do A LOT of crafting 🙂 .
Very nice room, I wish I could be that organized and have a room like that.
Wow! I love how you have everything in its place! I do this and a few weeks later, it’s a mess again lol 😉