
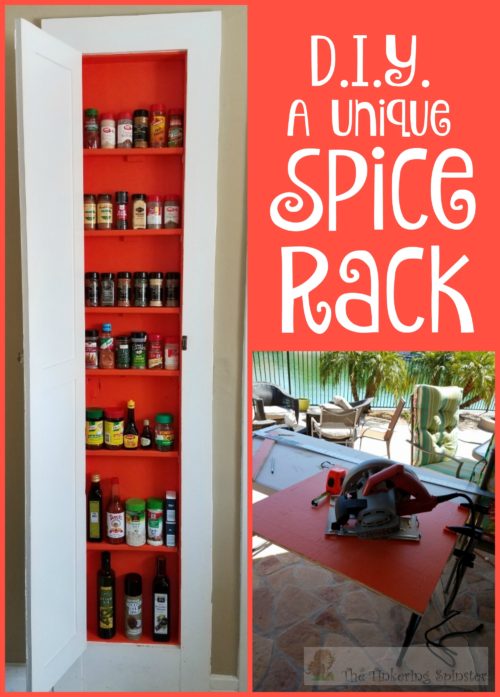
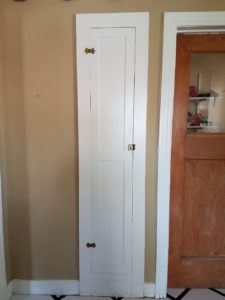
My brother lives in a 1930’s bungalow that still has all of its original charm. The beautiful door knobs, hardwood floors, light fixtures, wood framed windows…the works! The kitchen, however, is a bit of challenge. It has very little counter space and no drawers. None! I found that to be odd, even for an older home. On one wall of the kitchen there’s an old ironing board closet that is missing the ironing board. We talked about turning it into a fold out counter but my brother had another thought. He wanted to turn it into a unique spice rack! He came up with the idea and then handed the project over to me. His part was done.
I never pass up the chance to use power tools, so challenge accepted! The space was about 70 inches long, 12 inches wide and 2.5 inches deep. We took a little trip to Home Depot and got a 3ft x 3ft x.75 in piece of plywood, some bright orange paint and a strip of finishing trim.
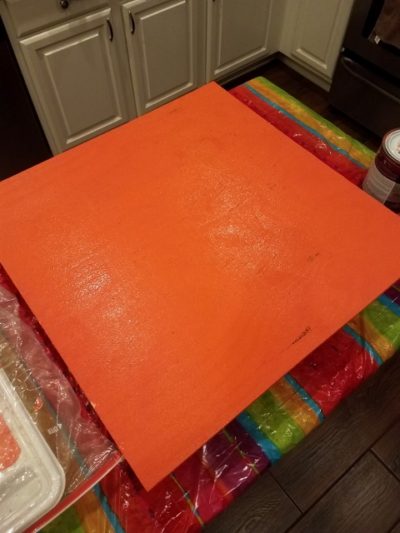
The first thing I did was paint the interior of the cabinet a bright orange. Then I painted the plywood. Pay no attention to the wild ‘dropcloth’ underneath it. I use Dollar Store plastic table cloths as my dropcloths. 🙂
I like to paint the wood first because it’s alot less time consuming to paint a large flat surface than it is to paint little 2×12 shelves. I just touched them up after they were installed. I also painted the trim while I had the paint out.
Enough about paint. I want power tools!
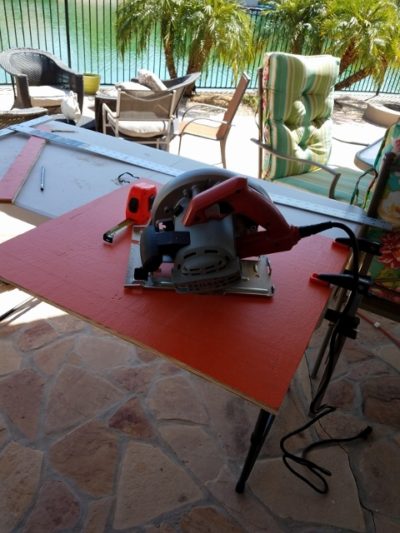
Next the fun really began! Power tools! I grabbed my circular saw and a folding table and went outside on my back patio on a beautiful day to cut 2 inch strips (The depth of the cabinet is 2.5 inches but I needed to leave room for the trim). Now here’s the thing I forgot to do, and caused me more work. I didn’t turn the painted side down. When you cut, the top ends up with a rougher edge than the bottom, so if I’d turned it upside down the painted side would have had the smooth edge. So after all my painting prep, I still had to paint the other side of the shelves because I ended up wanting that side to be the top! Oh well…
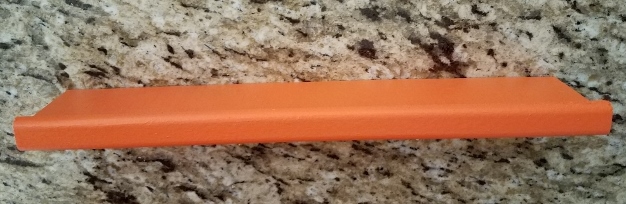
Once I had my 2 inch strips it was time to get out the miter saw and cut the pieces down to 11.75 inch lengths. At the same time, I cut the trim the same length as well. I can’t believe I forgot to take a picture of that! The miter saw is my favorite tool!
I used wood glue and clamps to adhere the trim to the shelf and here’s what the finished shelves look like.
The install…
Now it was time to install them. Old houses are full of surprises and I didn’t know what I’d be up against so I wasn’t looking forward to this part…but it turned out to be easy! I just used some small L-Brackets and a 5/64 drill bit to drill pilot holes and everything went smoothly! I also used a small piece of wood to brace the back of the shelf and installed those with wood glue.
![]()
Ta-Da!
And there you have it! An old ironing board cabinet transformed into a unique spice rack! Have you done any unusual transformations? I’d love to hear about it. Leave me a comment below.
Happy tinkering,
Susan
